Our kitchen reno is nearing completion (hence, the lack of blog posts lately!), and I can’t wait to show you the big reveal! Today, I’ll give you a sneak peek.
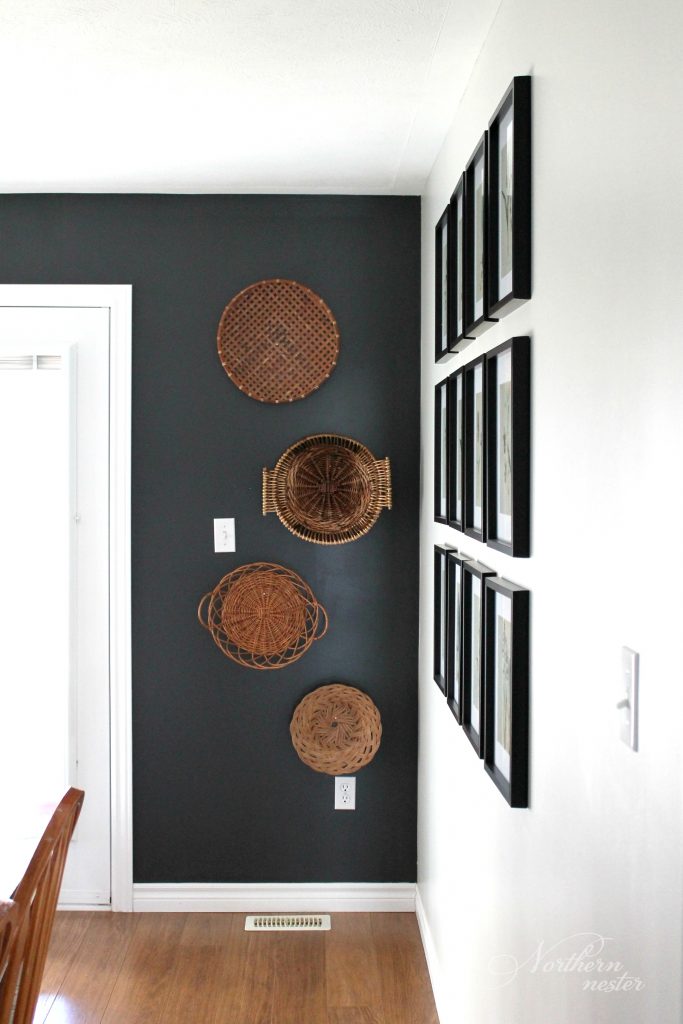
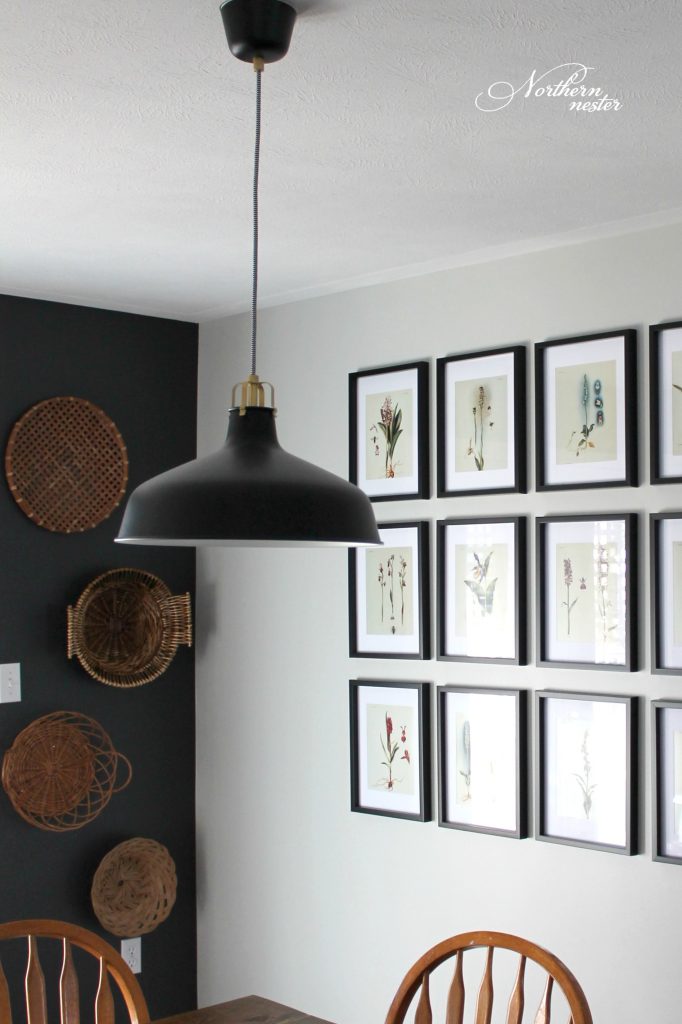
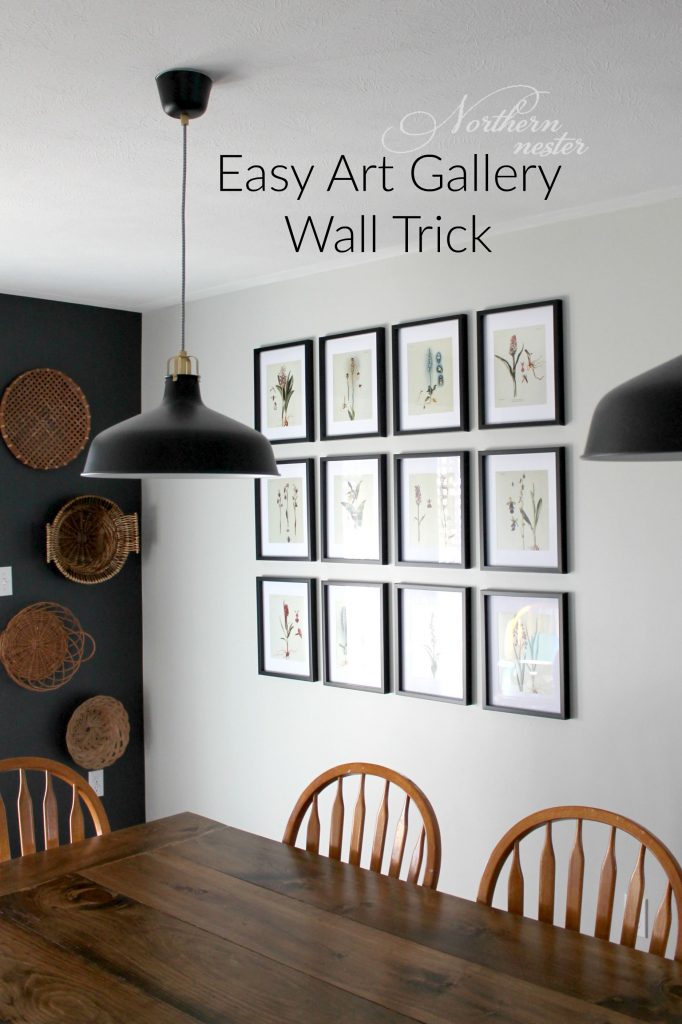
Long before we started our kitchen remodel, I had envisioned an art gallery on the wall next to the patio doors. This wall is across from our dining table, which is also our homeschooling table. I pictured 12 matching frames, hung symmetrically, with vintage prints that could be swapped out each season.
Finding 12 black inexpensive, identical 8×10 frames was easy. (I got mine from the Dollar Store, but this 12-pack set from Amazon is also beautiful!)
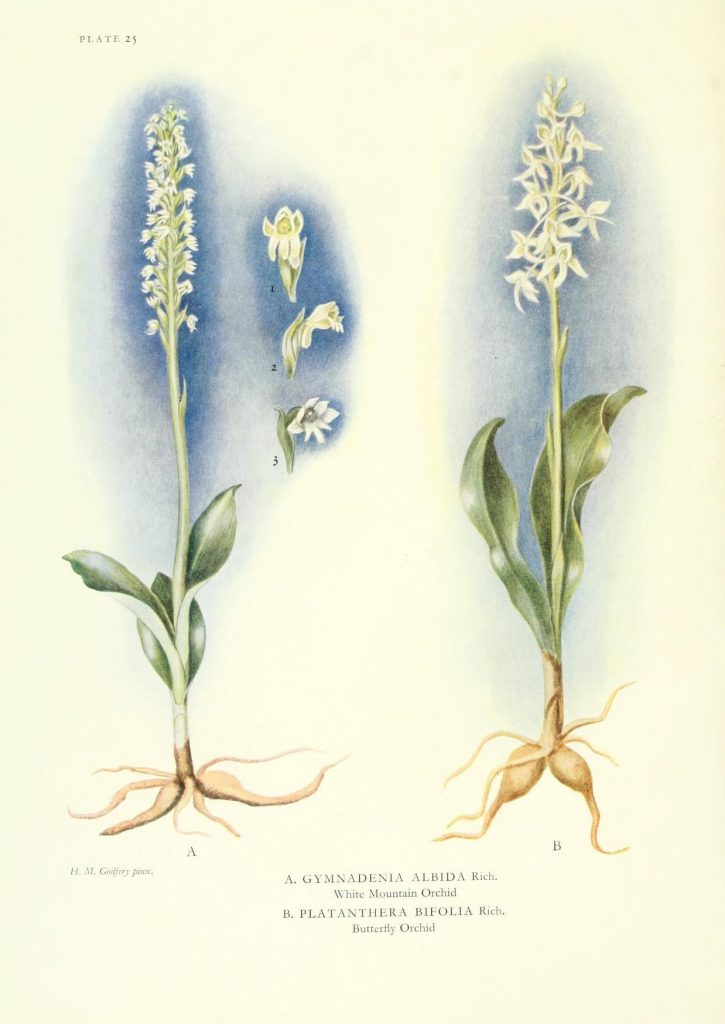
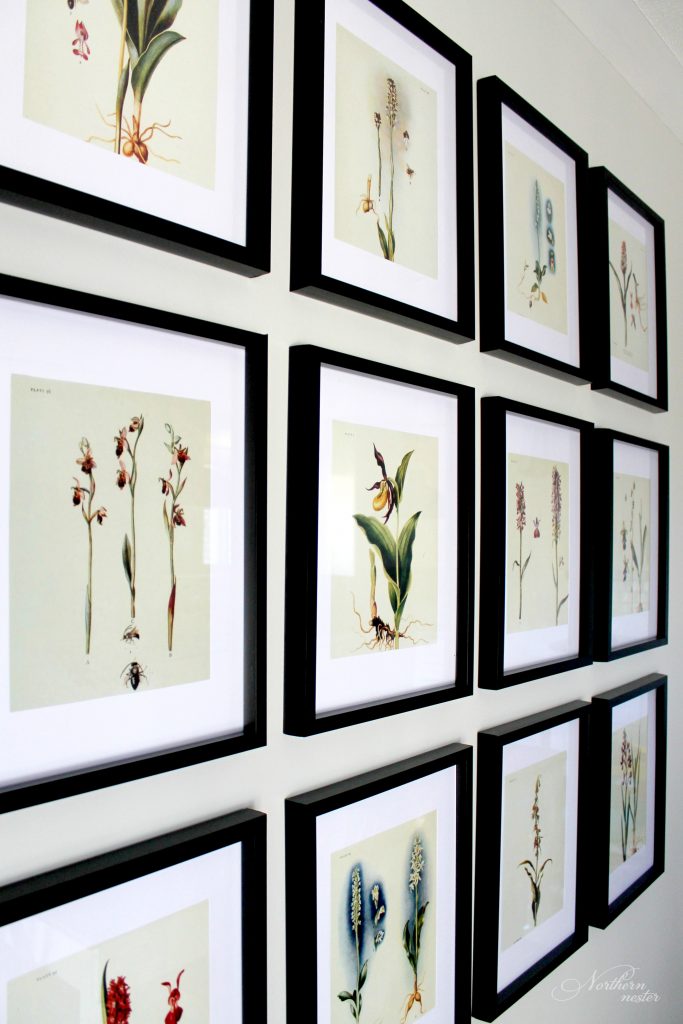
Finding the vintage botanical prints was a bit harder, but eventually I hit the jackpot when I stumbled across the Biodiversity Heritage Library on Flicker! All of the high-resolution vintage prints are free for personal use; you only need to pay for printing them after downloading the images to your computer. Since it’s nearly Spring, the first set of prints to go in the frames are these beautiful water-color drawings of native British orchids by Hilda M. Godfery.
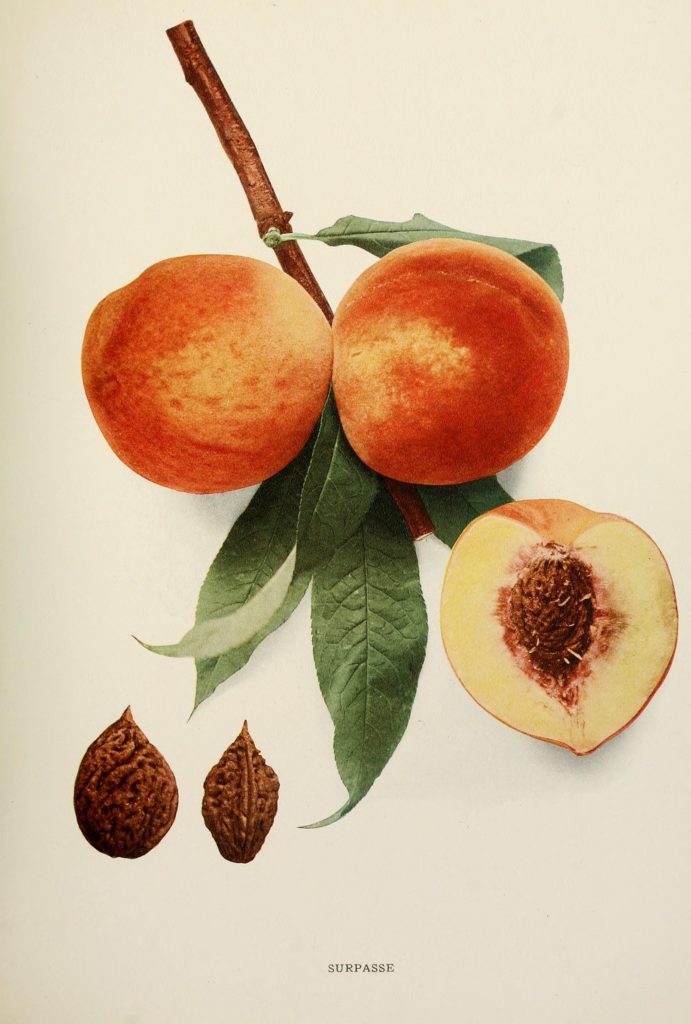
In the Summer, I think I may print some of these peach images.
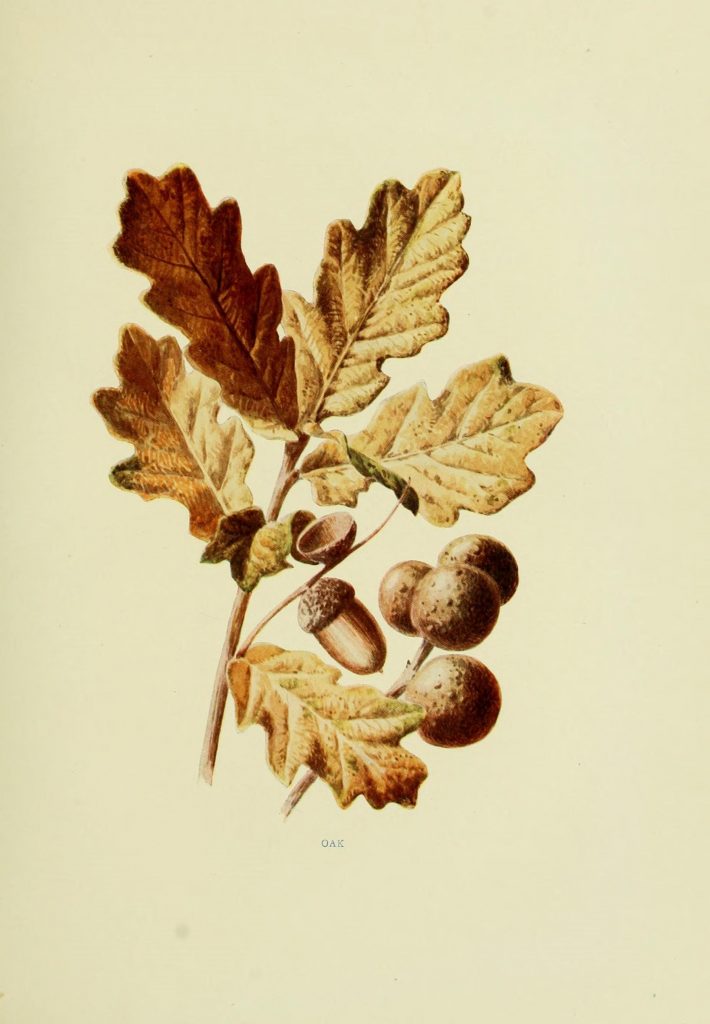
These golden-hued wild fruits would work well for Fall,
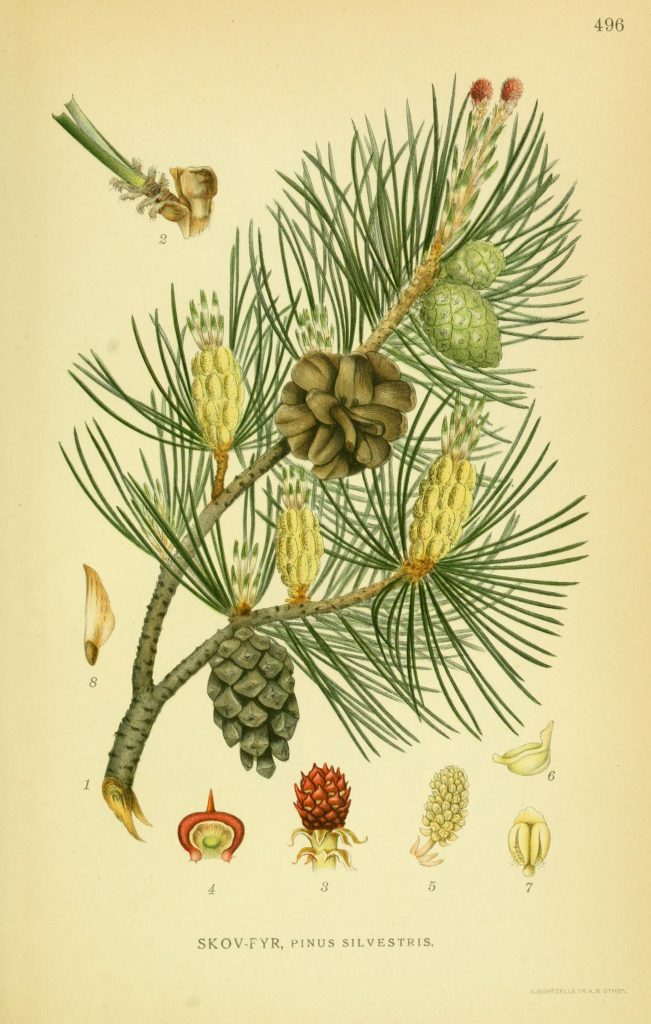
and these coniferous branches are perfect for Winter, don’t you think?
Hanging the frames intimidated me at first. I’m an eye-baller, not a measure-er; getting 12 frames perfectly aligned without any additional holes in the wall seemed like an impossibility…until I spied a roll of geometrically patterned wrapping paper.
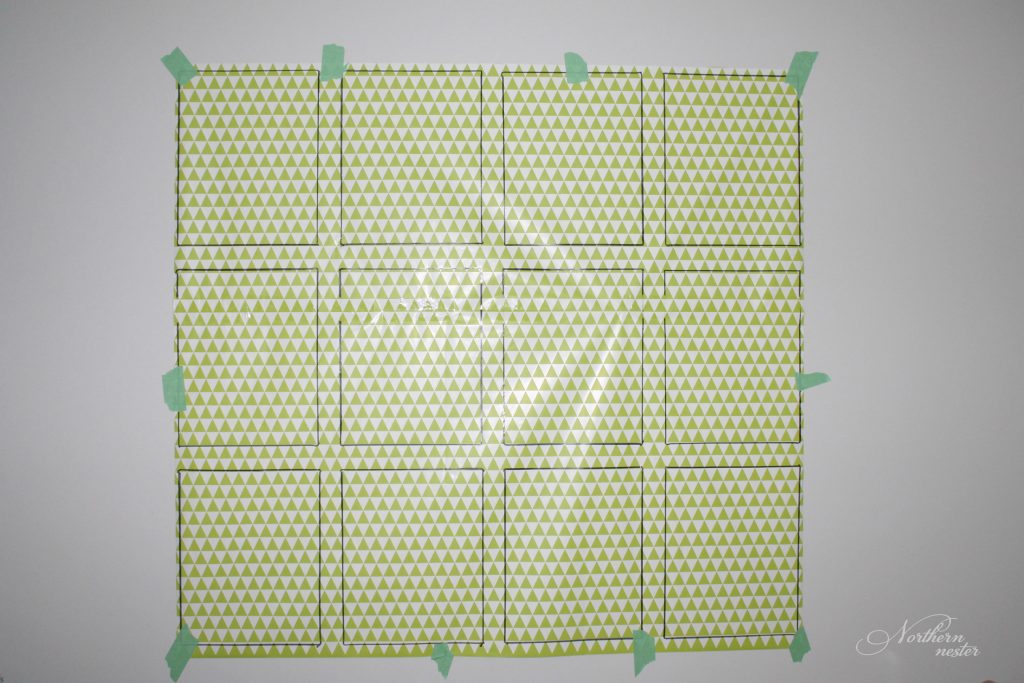
I rolled out the wrapping paper on the floor and placed my picture frames on top, using the straight pattern lines as a guide for keeping things level. Once all 12 frames were perfectly spaced, I traced around each of them with a black marker.
Using painter’s tape, I hung my wrapping paper guide on our soon-to-be art gallery wall. With a level, I made sure the top and bottom edges of the paper were in line with the ceiling and the floor.
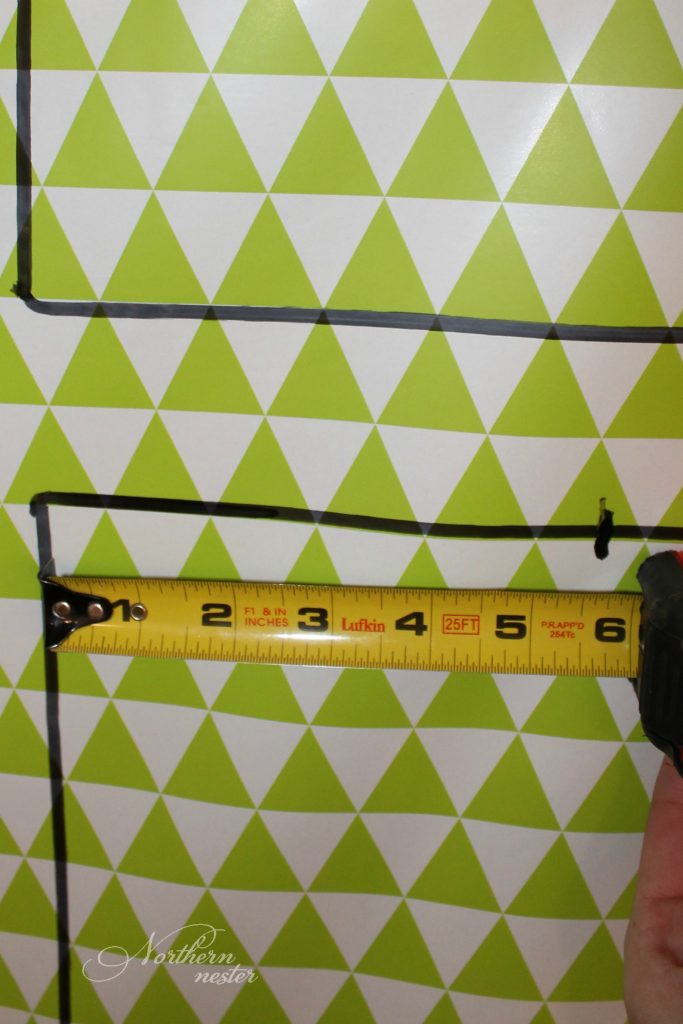
Then I took a measuring tape, and marked the center of each rectangle so I would know where to hammer the nails on which the frames would hang.
I nailed through the paper on the marks I had made, just enough to make a small hole in the wall. Then I removed the wrapping paper guide, and drove the nails all the way through.
This method worked perfectly, and we’re thoroughly enjoying the easy-to-change view from the table!
Do It Yourself: To hang your own Art Gallery Wall the easy way, you’ll need:
- 12-pack picture frames
- geometrically patterned wrapping paper (or wrapping paper with cutting guide on reverse)
- marker
- scissors
- level
- painter’s tape
- measuring tape
- hammer
- nails


what size prints did you download from flickr to fit your 8×10 frames?
1 nail per frame? How do you keep them from swinging a little crooked? I love gallery walls- beautiful!
You have inspired me! I’m about to buy a house and I am planning a seasonal, botanical gallery wall. I found some incredible watercolors of fruits (free from USDA site) for my summer one and they’re the first things I want to hang!
Where did you have yours printed? I’ve never printed anything but photos.