We outgrew our little golden oak table when Baby #4 arrived.
I dreamed of having a long farmhouse table that could seat a large family and still have ample room to accommodate guests, but buying one new was so expensive! We didn’t need chairs (ours were still in good condition), just a table and a bench.
Walking through the lumber department in Home Depot one day (my idea of fun!), I noticed that the 4×4″ pressure treated pine deck posts were shaped just like farmhouse table legs!
They were also much cheaper than buying actual table legs made from a harder wood like maple.
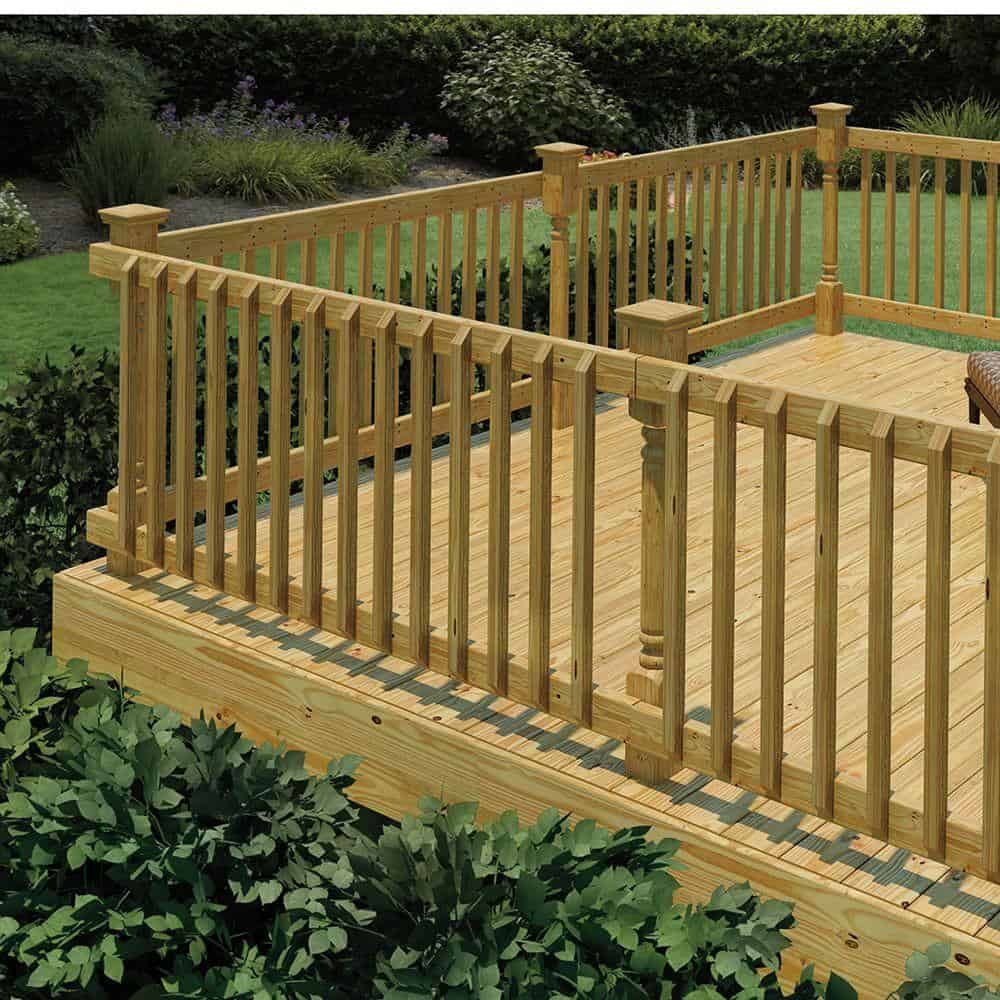
I told my husband about the idea of using the deck posts for table legs, standard lumber for the brace and apron, and spending a little more on nicely planed boards for the table top.
My idea was to sand down the legs until they were relatively smooth, paint them white, then distress and seal them. That way, you couldn’t really tell we were using outdoor lumber for an indoor project! The Farmhouse look is only improved by distressing, so it seemed like a good fit for life with six kids. 🙂
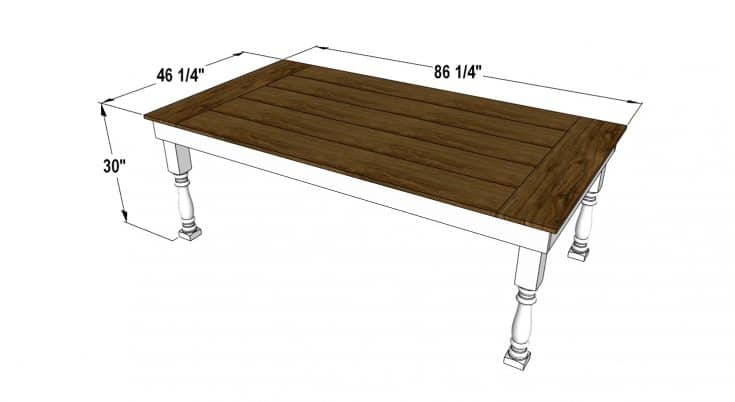
Brad was totally on board! I quickly sketched out what I envisioned the table looking like, and we set to work!
I bought the lumber and finishing materials, and he built the table in our basement with our oldest son, who was six at the time, and more than happy to operate the drill!
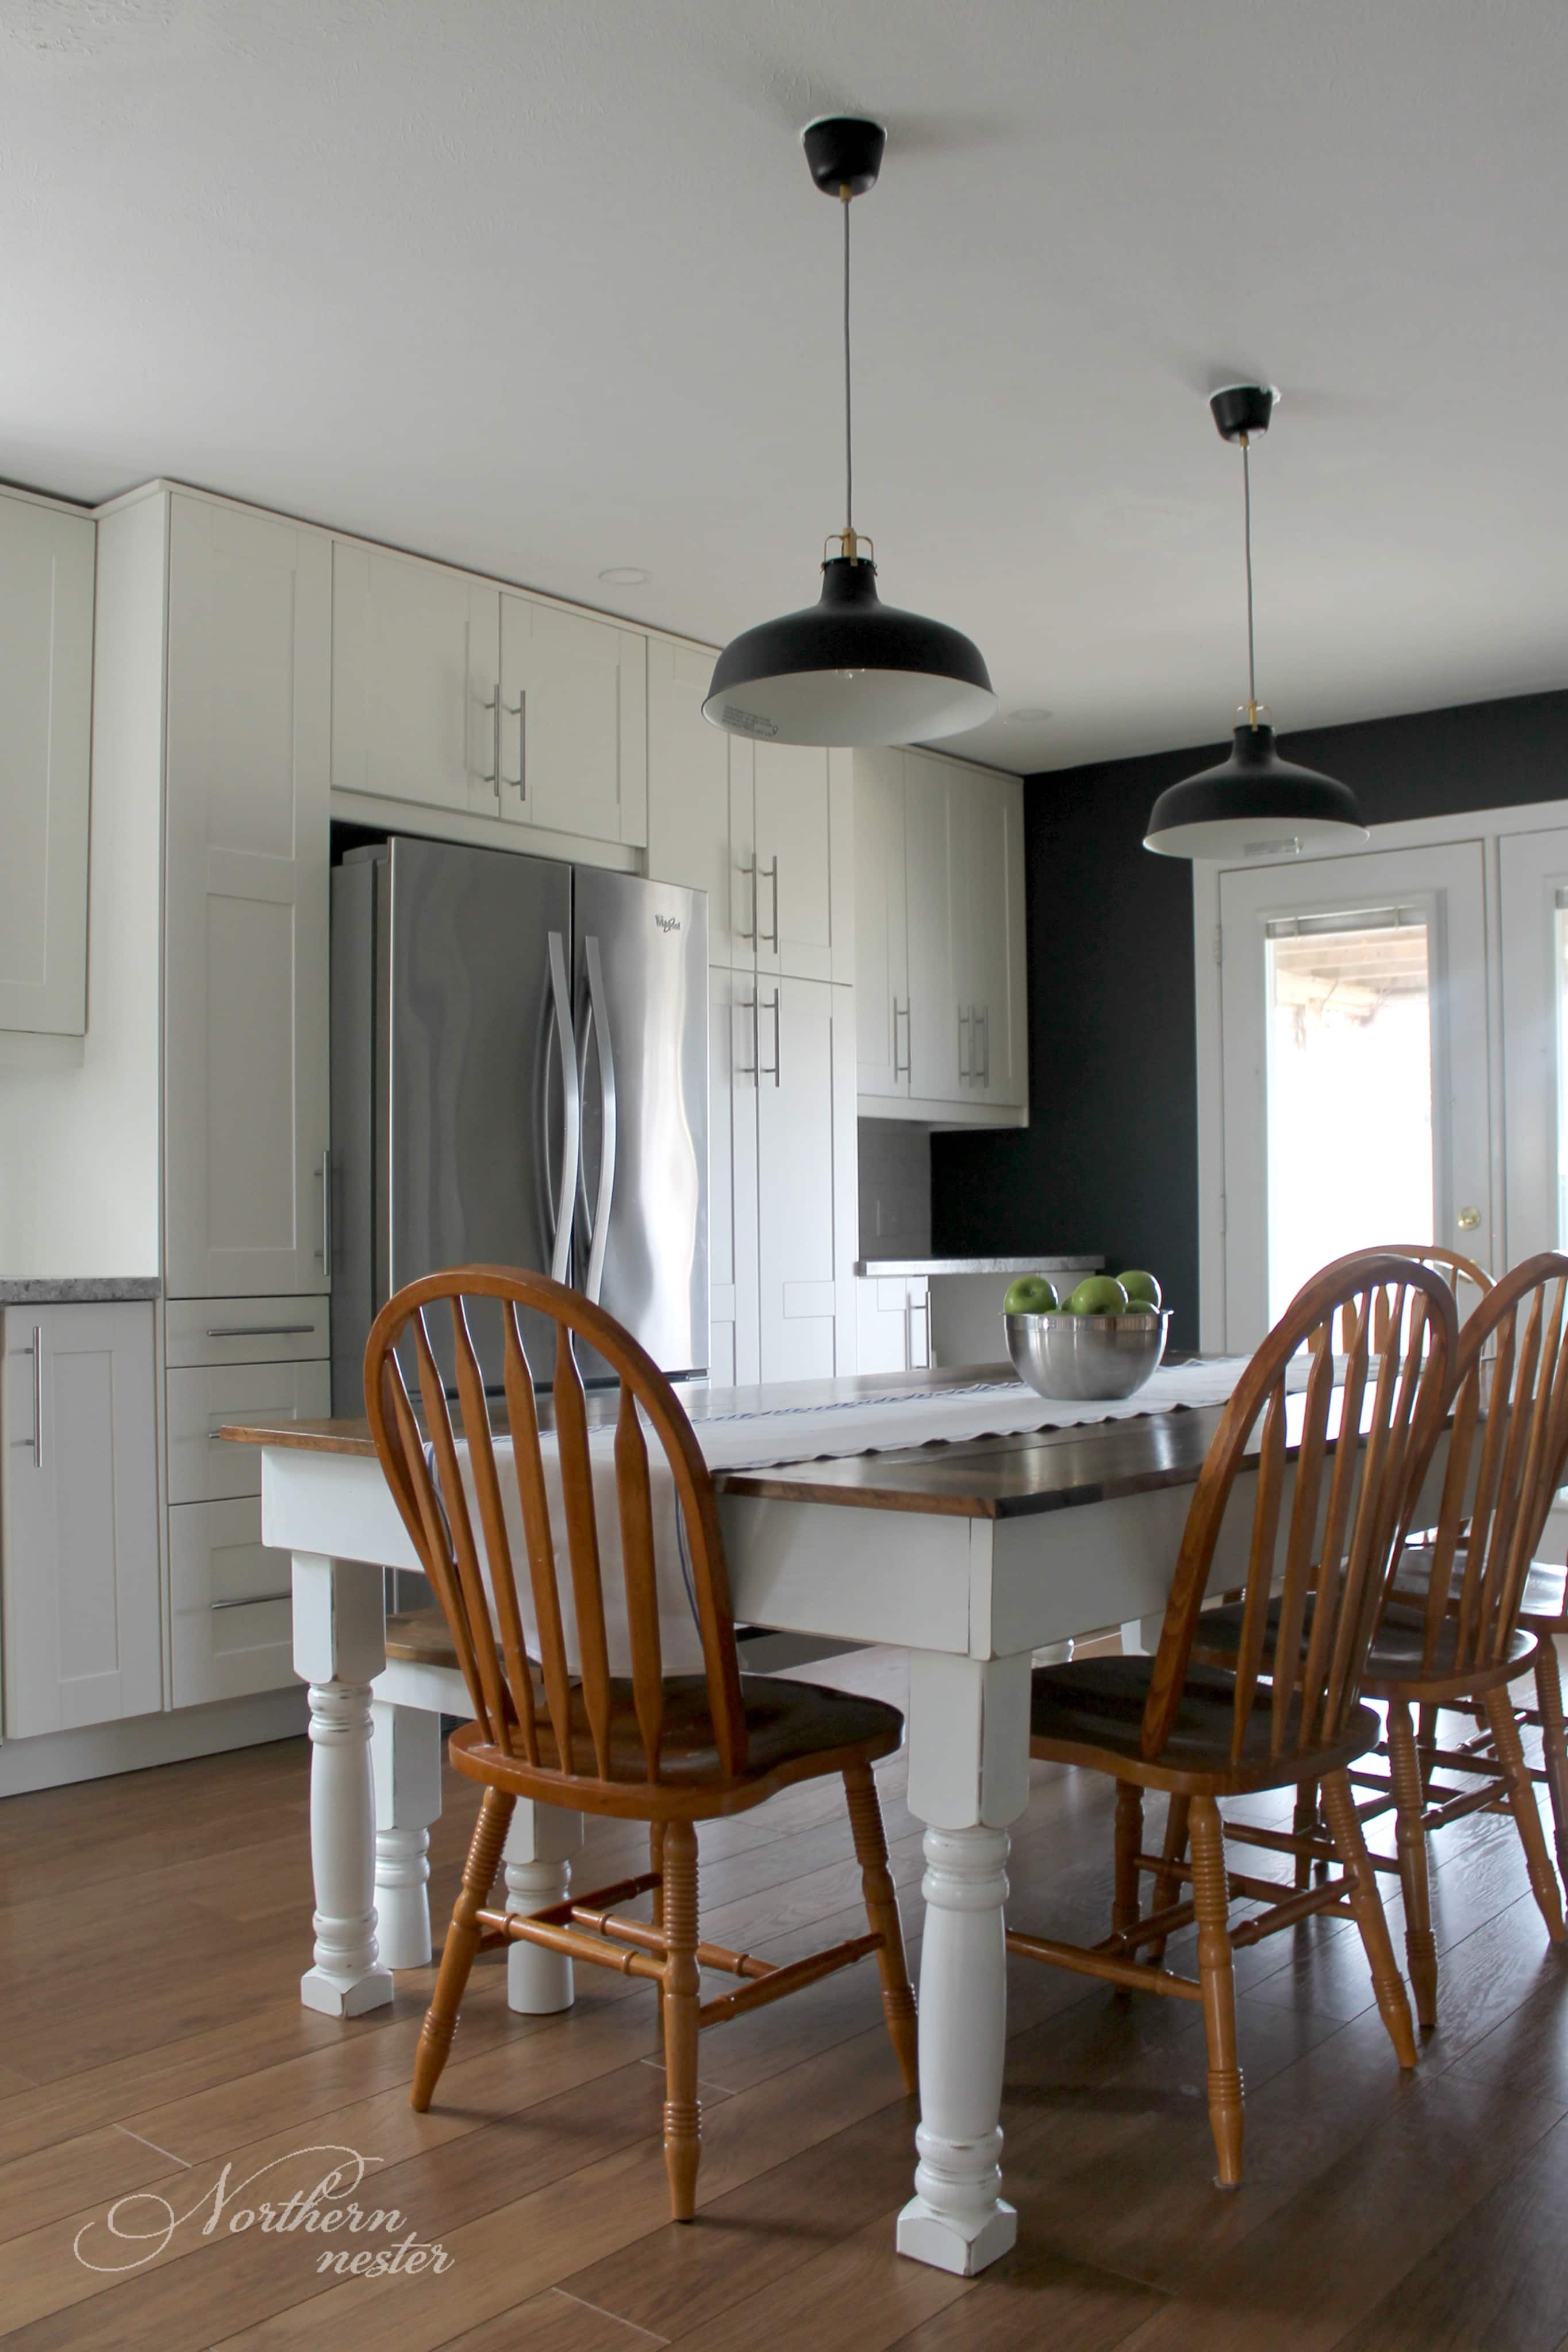
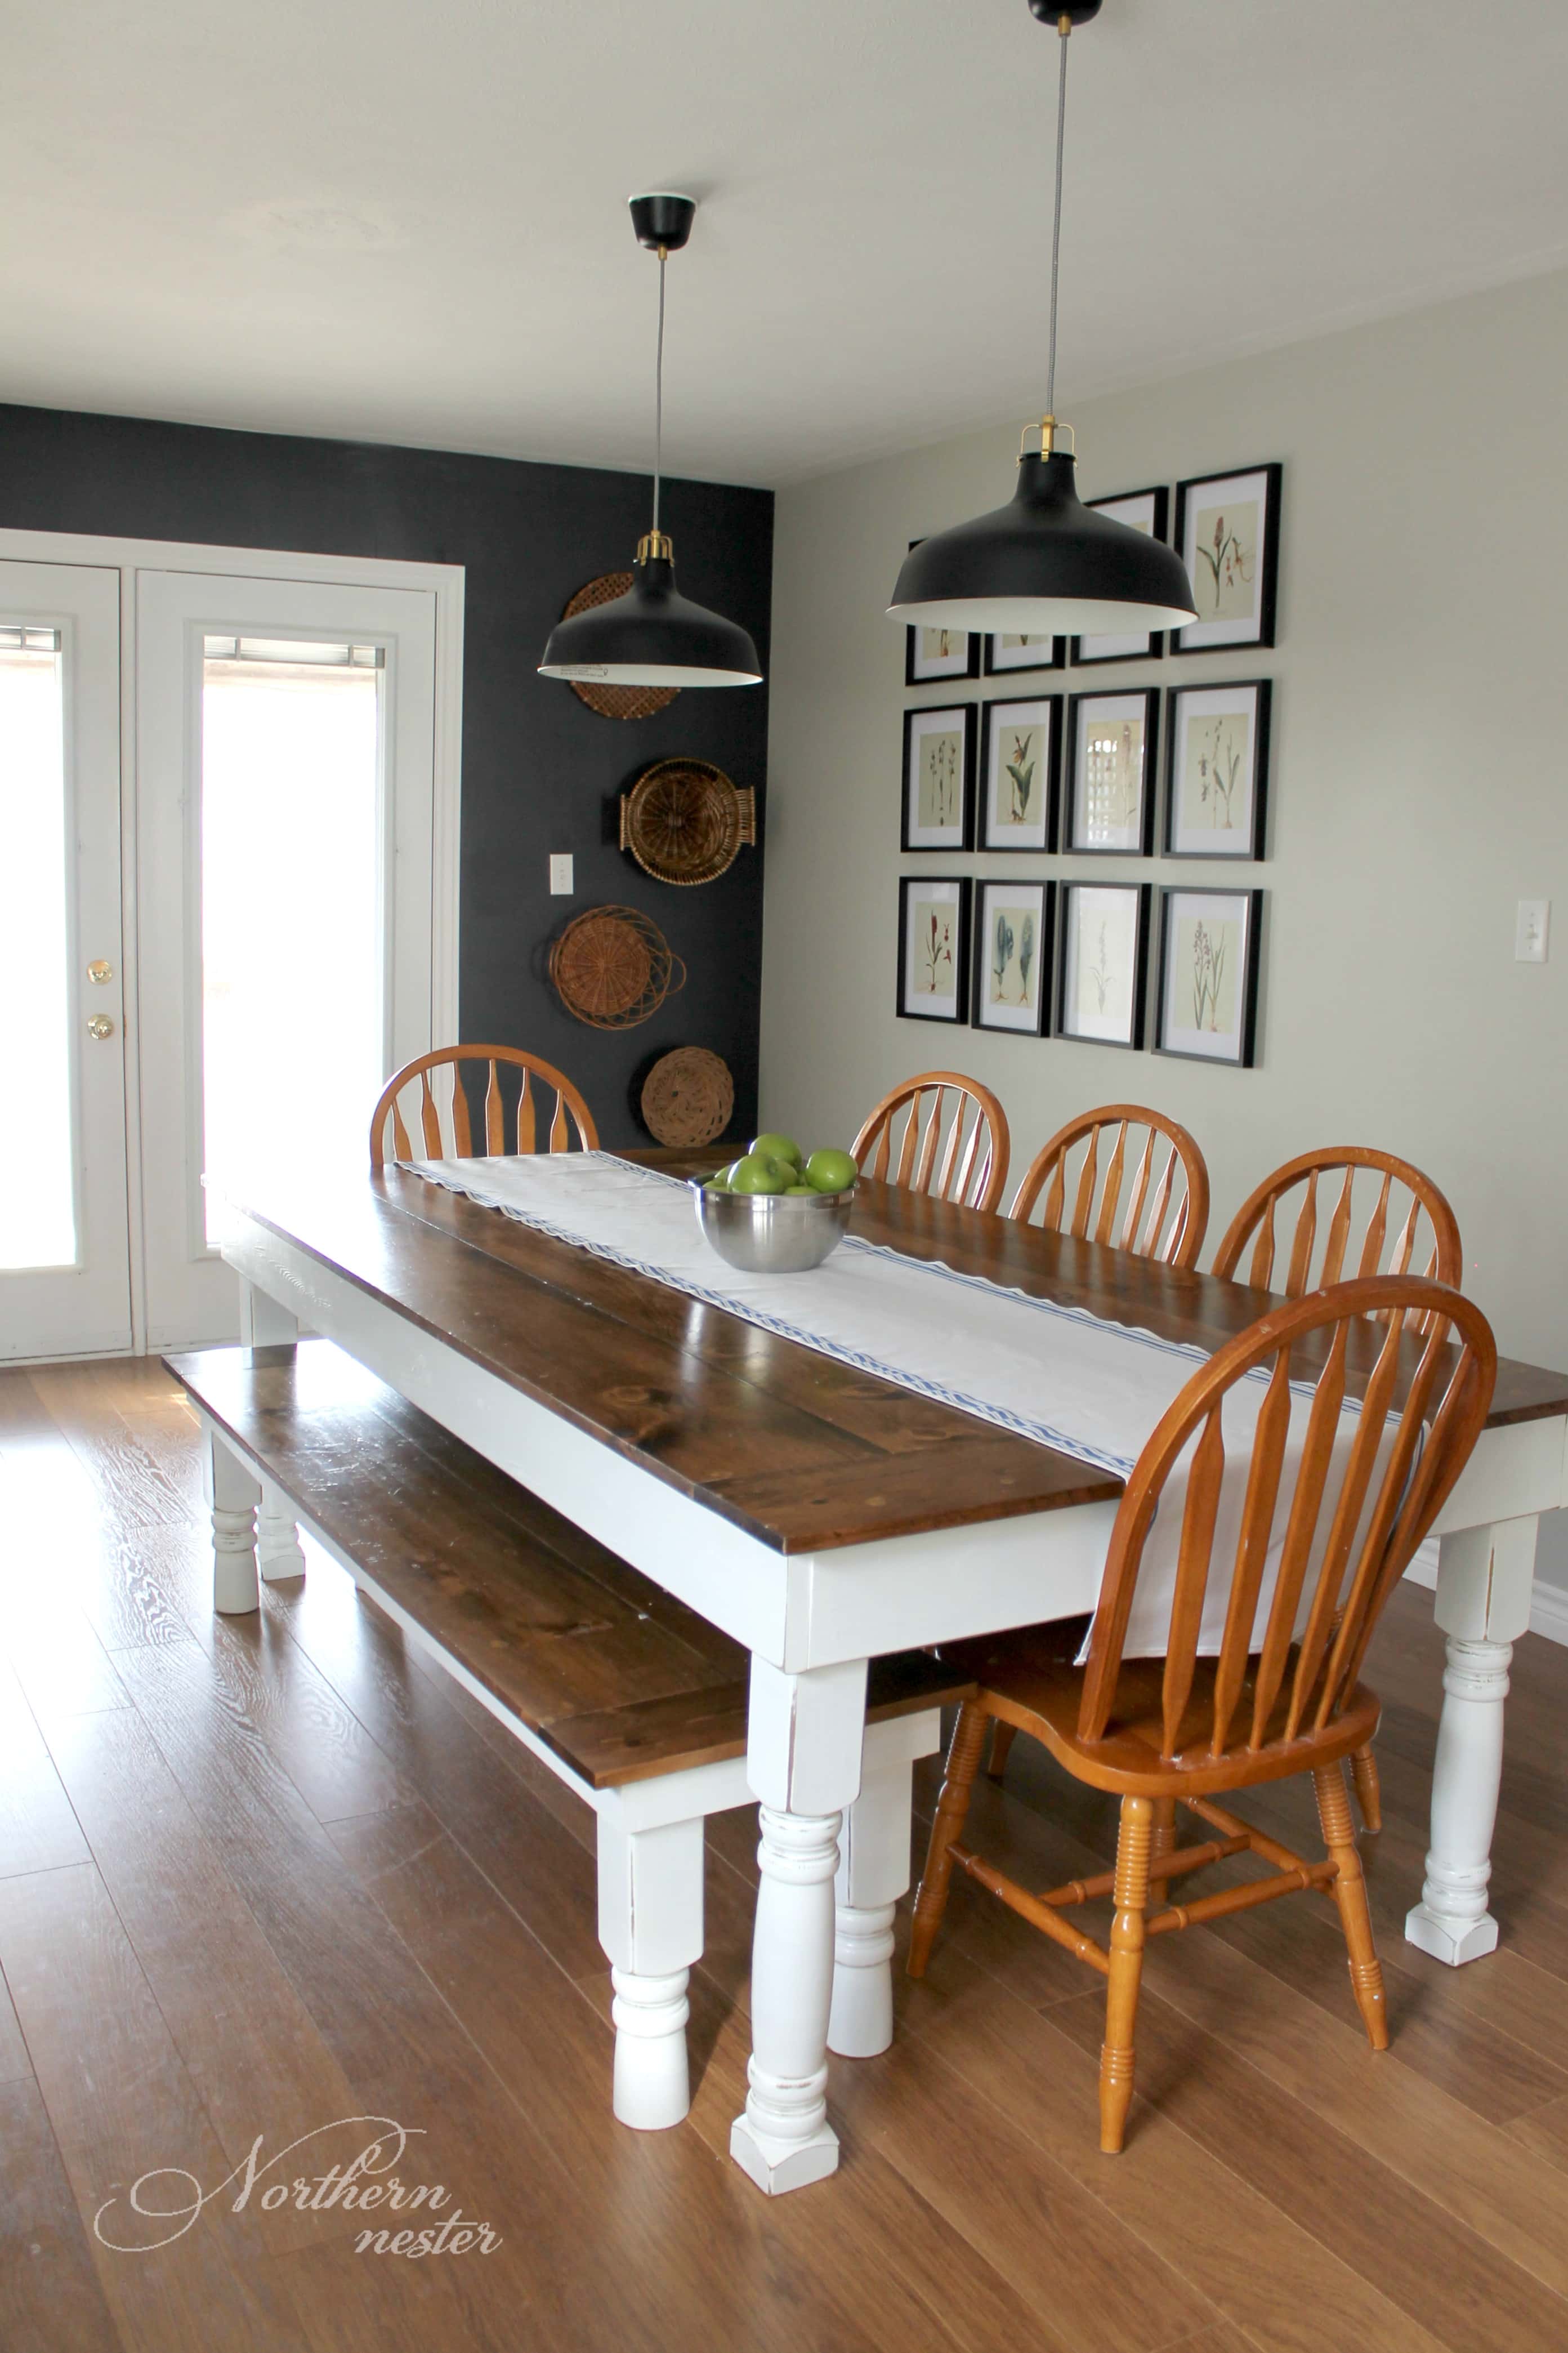
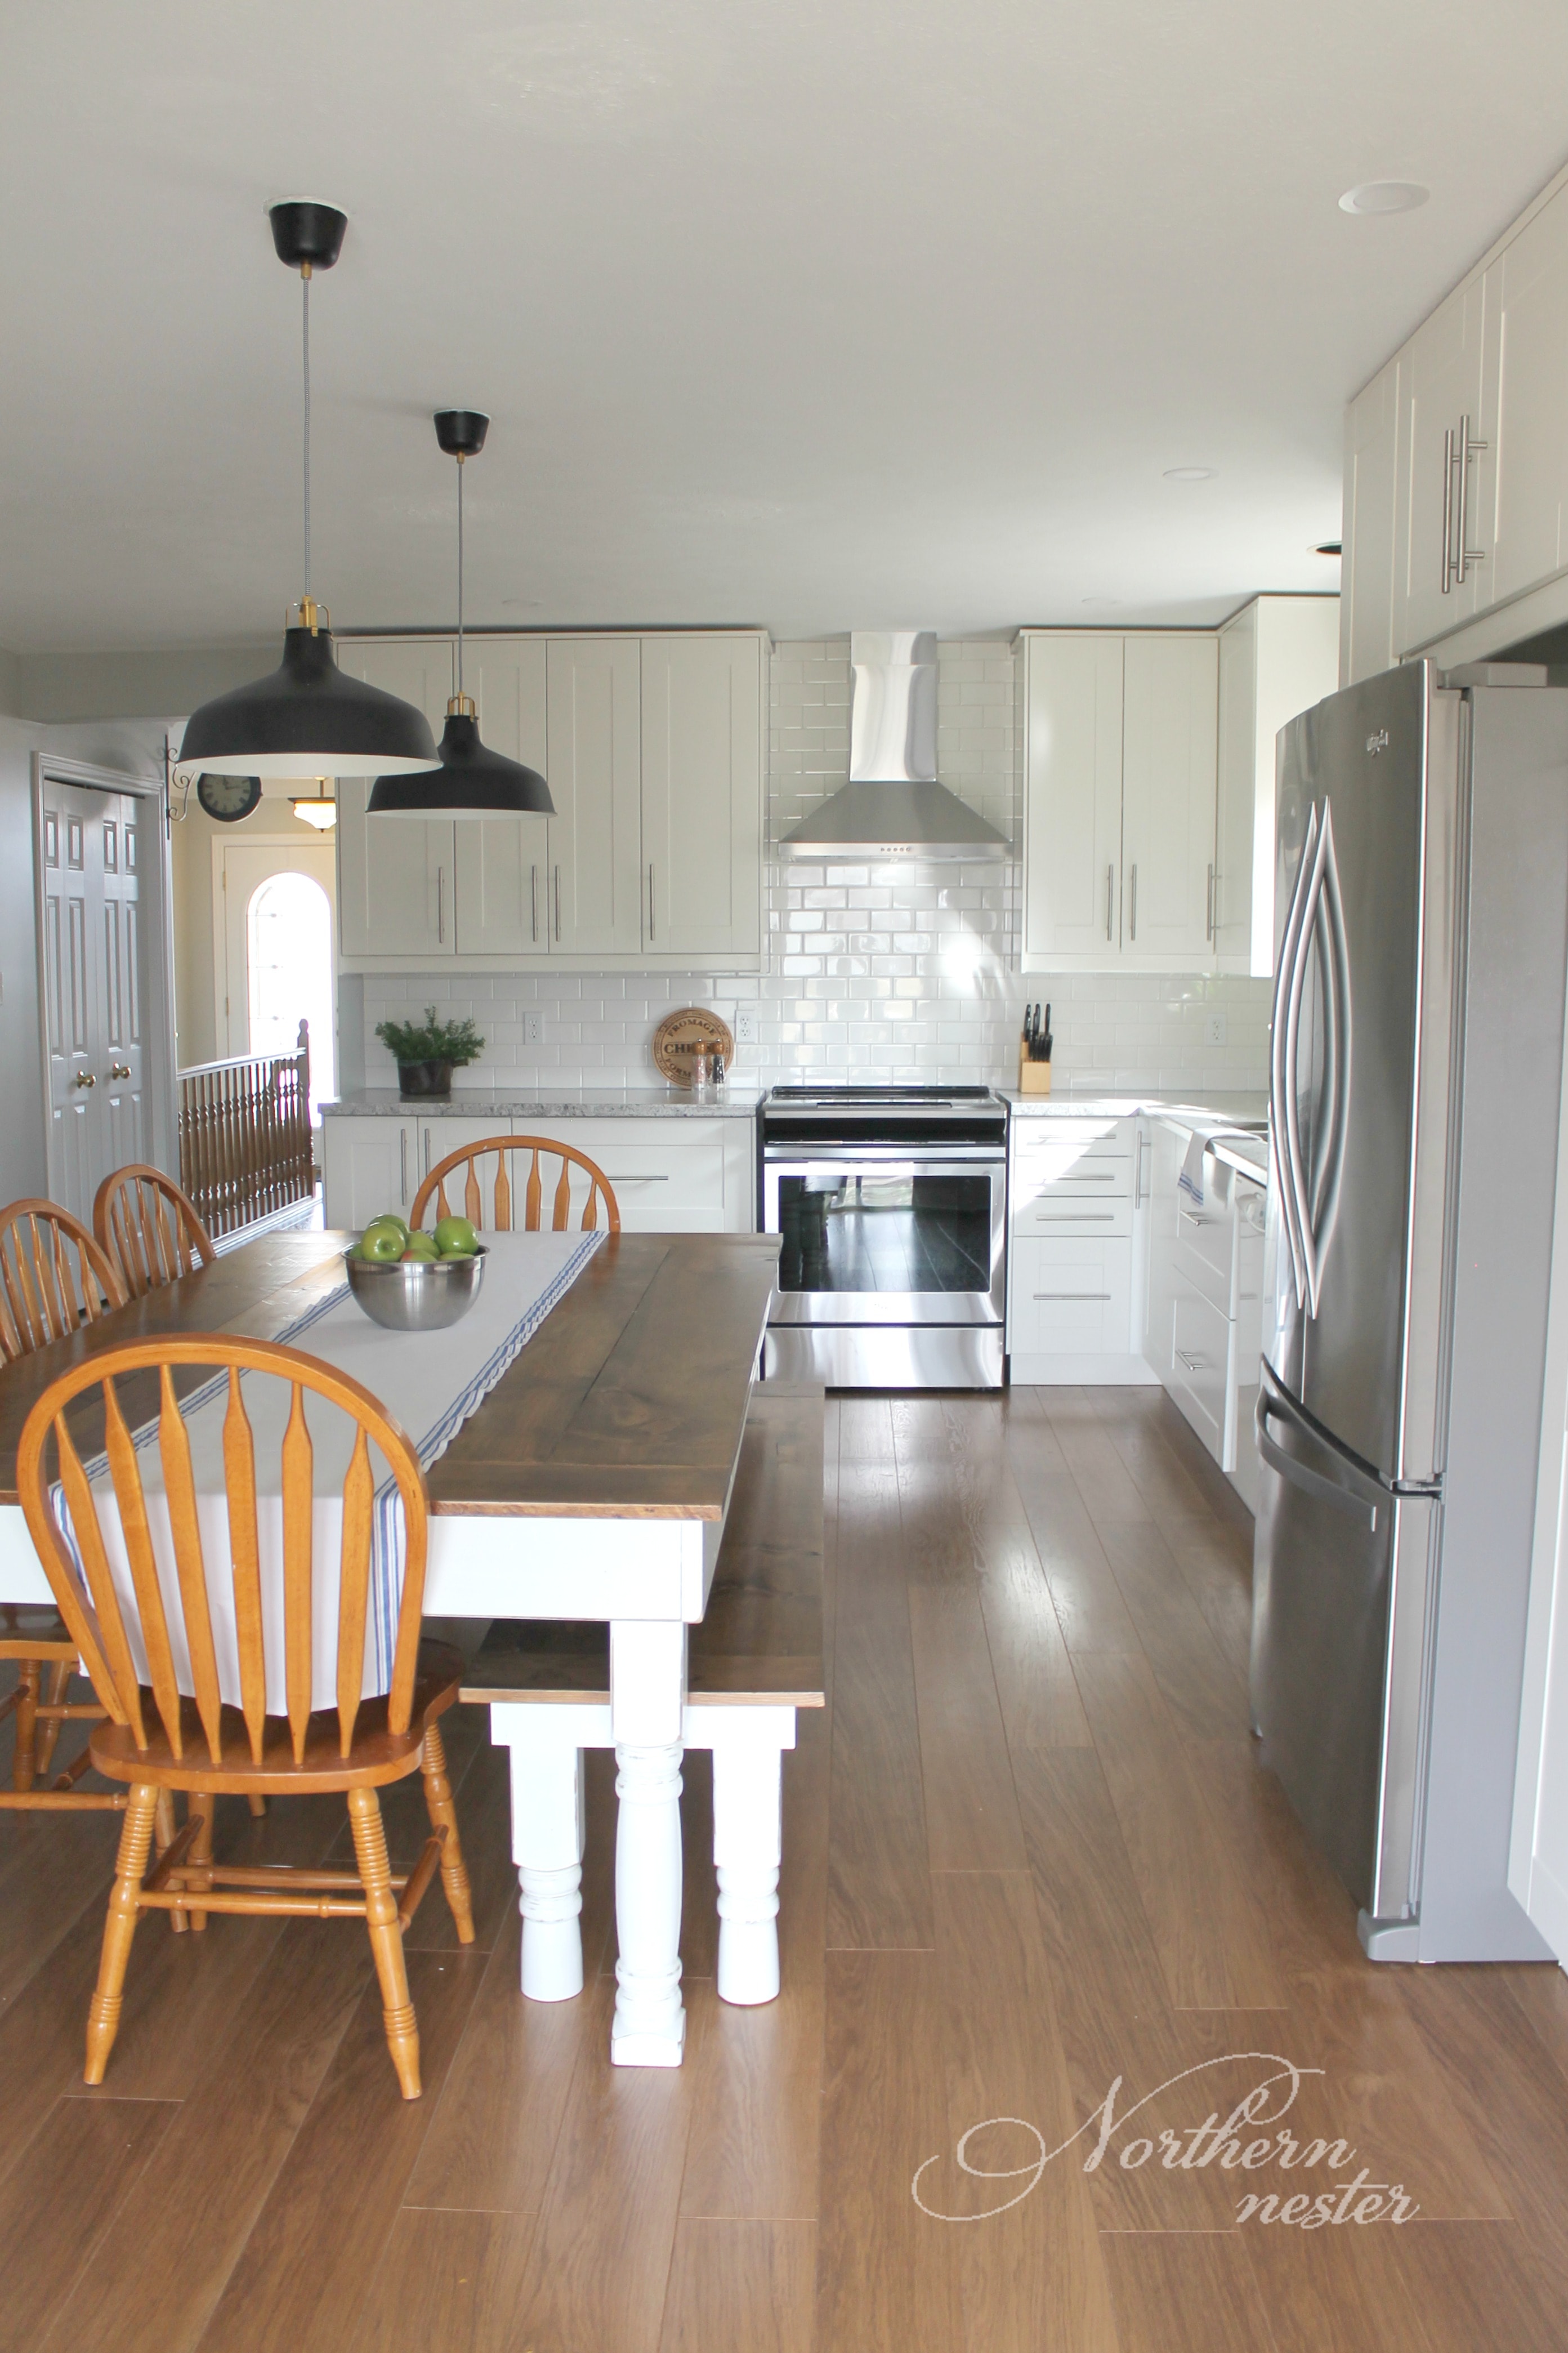
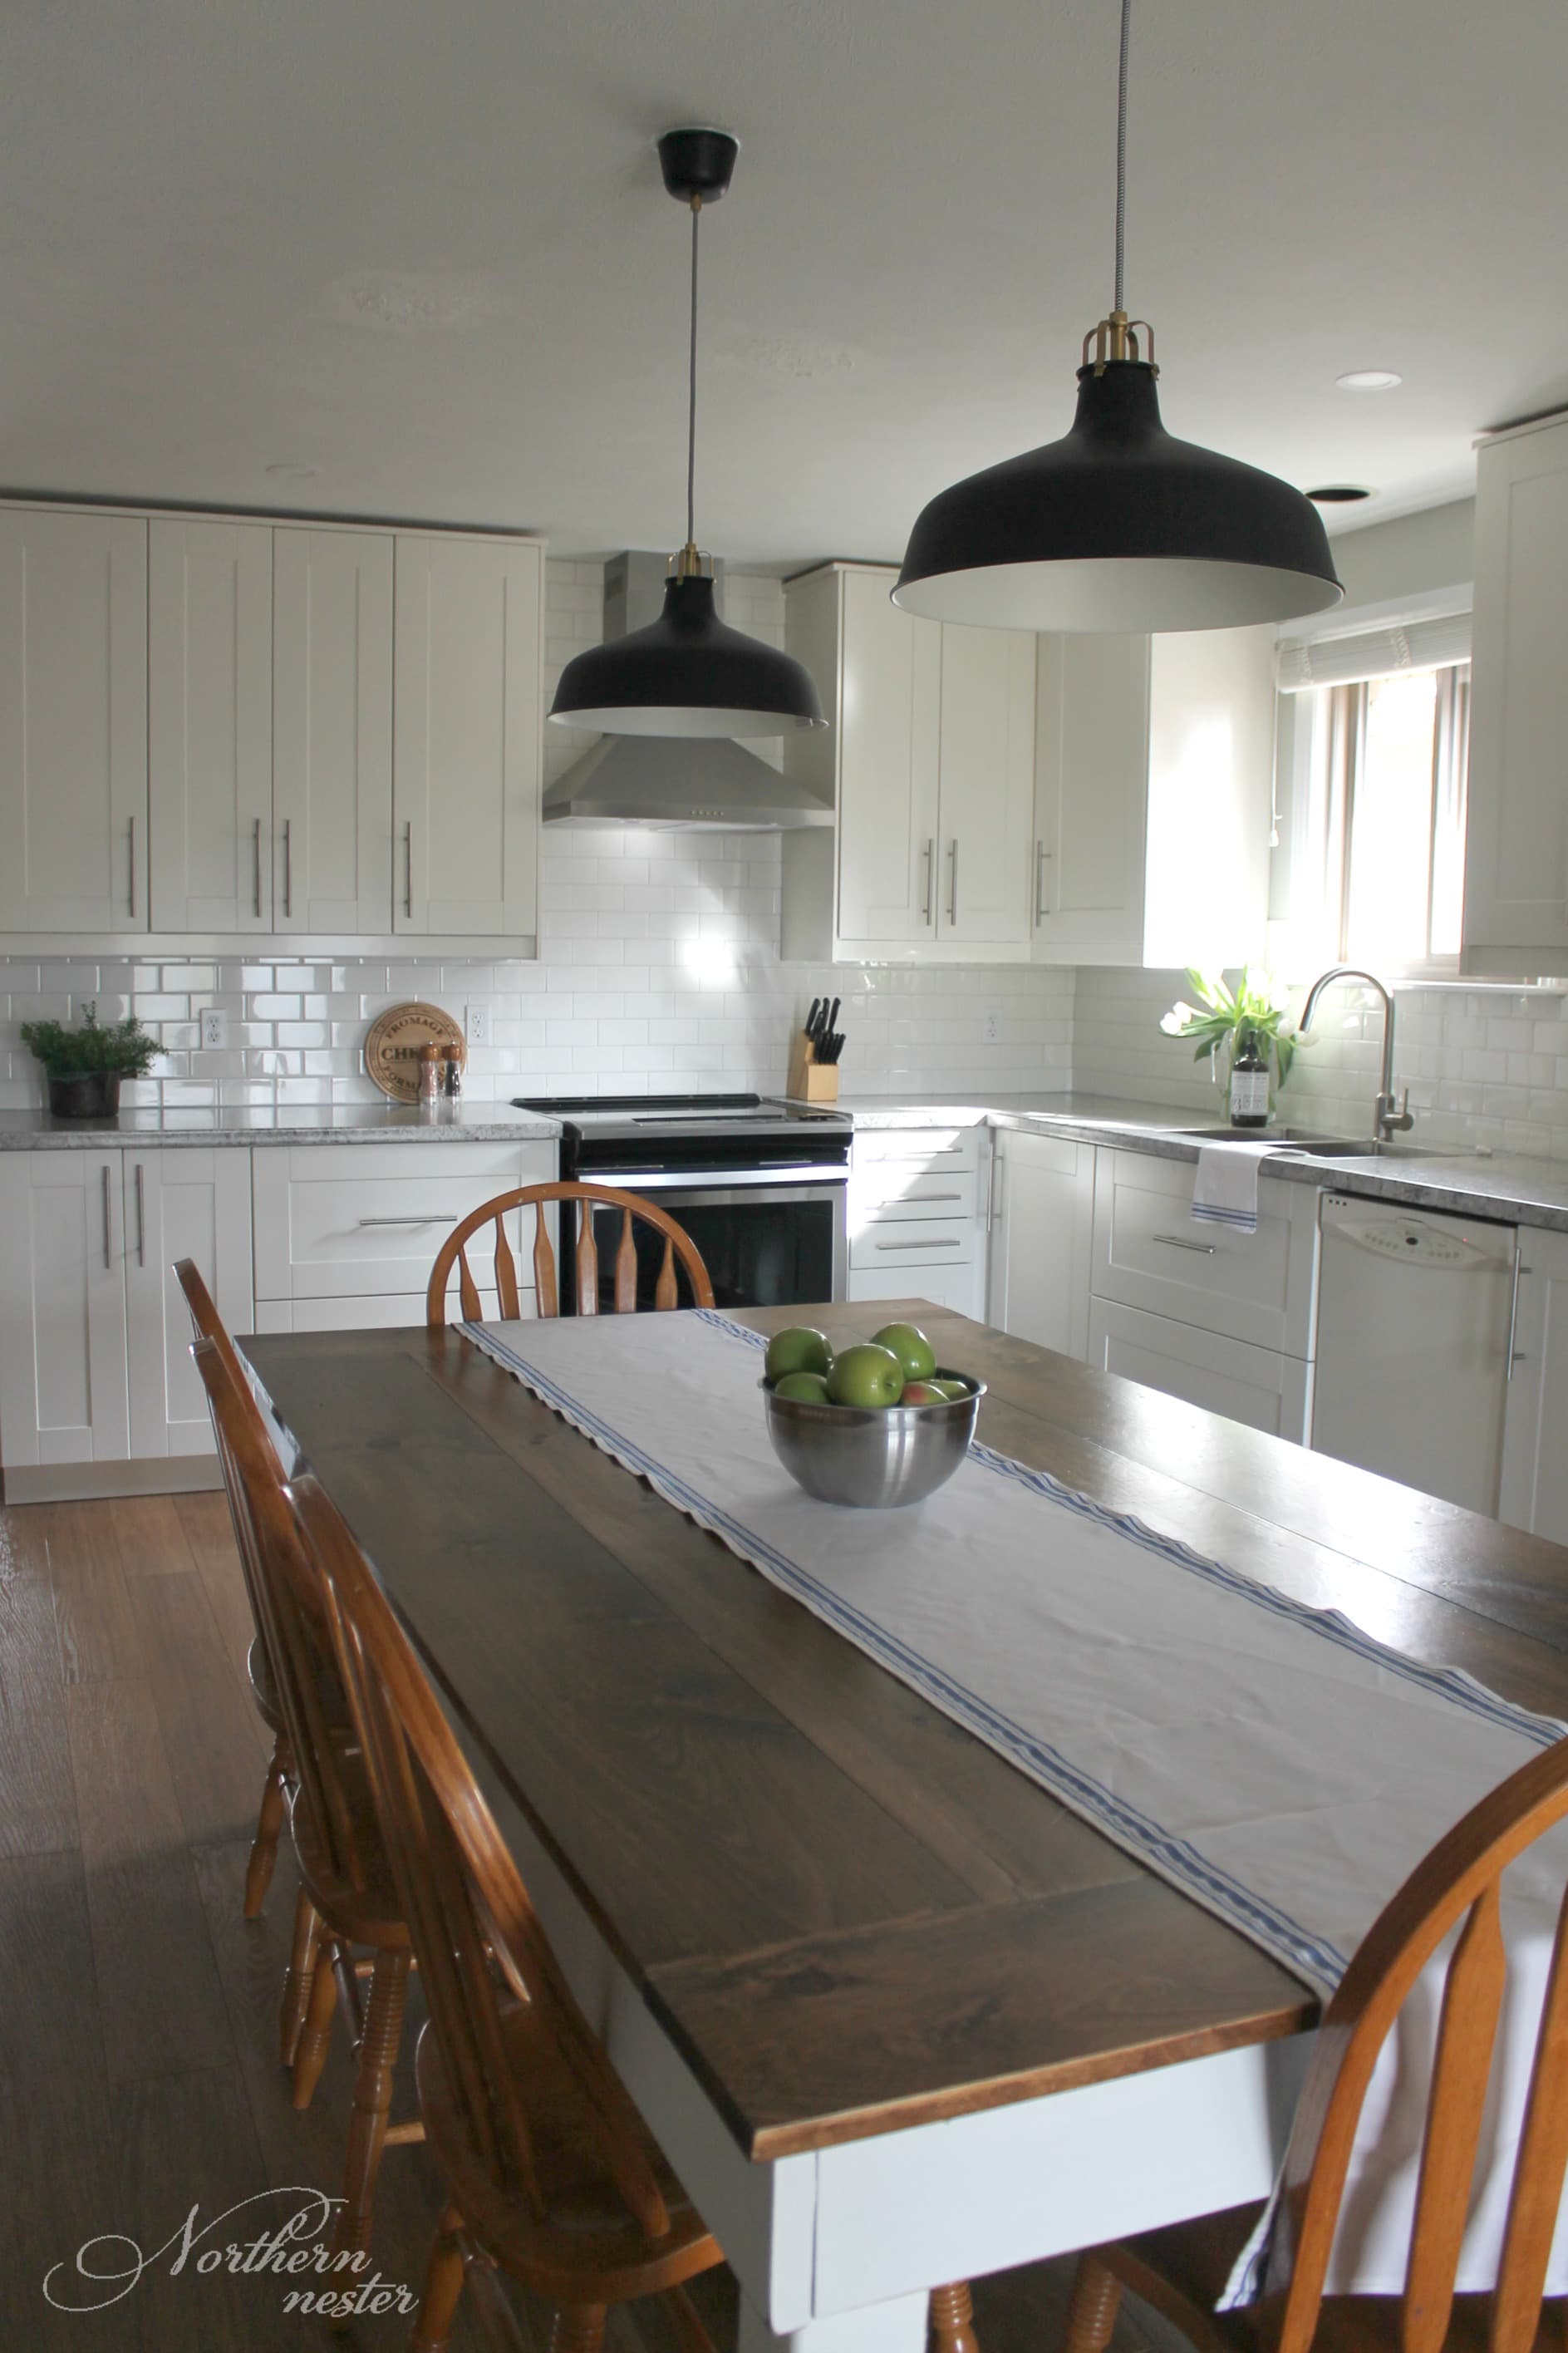
In all, this Farmhouse Table and Bench (plan for the bench coming soon!) cost us around $300 – about $700 cheaper than buying one new! It comfortably seats our family of 8, with plenty of room for a few guests.
Over the last 3 years, this Farmhouse Table has stood up to 3 meals a day with the whole family, homeschooling, crafts, food preparation, fellowship meals, potlucks, cupcake decorating with friends, and hours and hours of of playing card and board games.
It’s a constant hub of activity, and while we would build it again in a heartbeat, it’s so durable, we probably won’t ever need to!
We’ve had so many requests to build this Farmhouse Table for others, but we’re pretty pinched for time and space, so Brad drew up the Farmhouse Table Plan on SketchUp Make (read his review of SketchUp Make here), so you can do this project with your own family!
It’s very easy to put together (we’re total newbies at this!), affordable, and you can build the whole thing on a Saturday afternoon with standard size boards from your local lumbar yard.
Here’s the Free Farmhouse Table Plan!
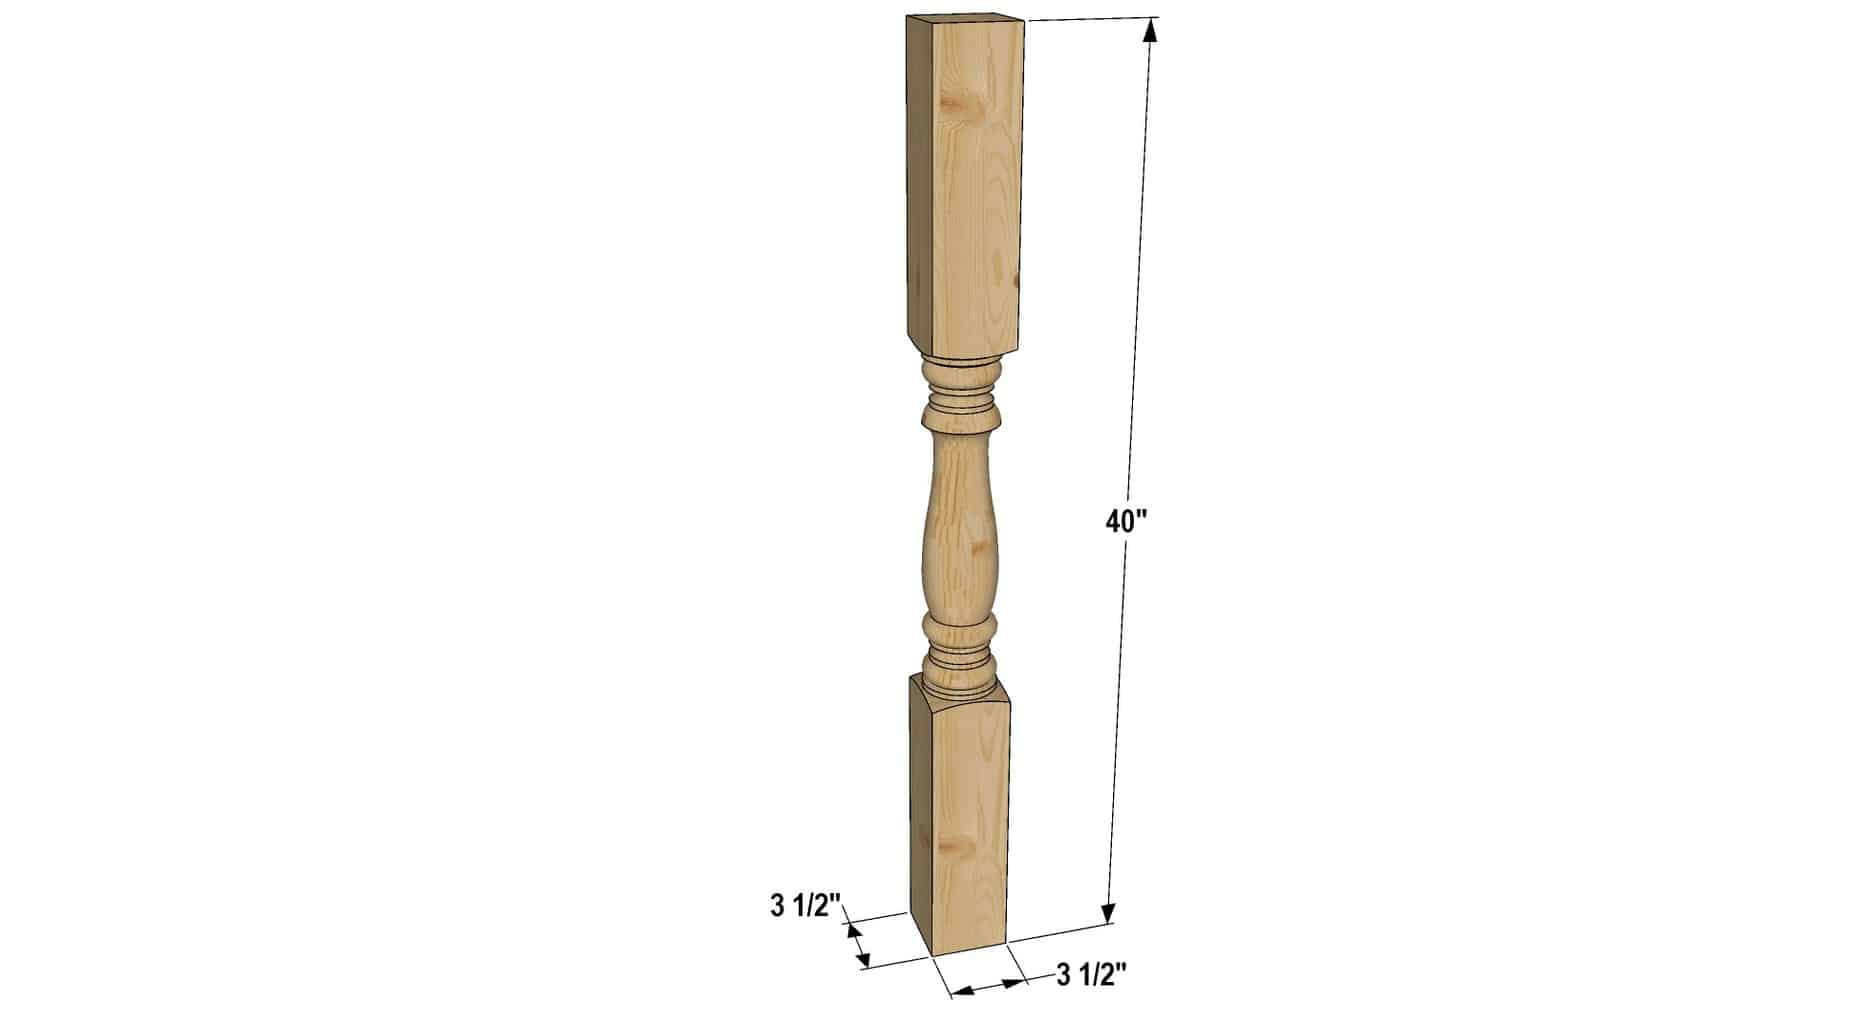
This Free Farmhouse Table Plan is easy, affordable, and can be made in one afternoon with standard size boards from your local lumbar yard. Be sure to glue each joint before screwing together. Start by cutting all the pieces to size. This build uses lumber very efficiently and you will only need to make a few cuts for this table. Cut 2 pcs 2”x4”x42” Cut 2 pcs 1 ¼”x6”x42” Cut 2 pcs 1”x10”x46 ¼” Cut 2 pcs 1 ¼”x6”x84” Cut one end (or both) of the 4” x 4” deck posts. Just locate the shaped part of the post where you like it. It starts out roughly like this: We left about 1 ½” of the flat part of the leg underneath the shaped portion of the post, to serve as the bottom of the table leg like this: Add 4 pocket holes to the top of all 4 legs like this: NOTE: It depends on which pocket hole jig you're using so just set it up as per the instructions Take 2 of the legs and one 1 ¼”x6”x42” board and screw them together using pocket holes screws after gluing. Pretty important to glue this before screwing as this is a critical joint of the table 🙂 Repeat the same step with other 2 legs and 1 ¼”x5”x42” board. Use the 2 leg assemblies made in previous steps and two 1 ¼”x6”x84” boards to make tables frame. Once the table frame is standing stably, screw-in 2pcs 4”x4” pieces to the inside of the frame on each end of the table. Screw in the middle supports for the table. Use 2 pcs 2”x4”x42” pieces and attach them 20 ½” from the 4”x4” supports. Now that the base of the table is completely done apply white or any other color wood paint you prefer to the base of the Once the base is painted and dry its time to make the tabletop for the table. It will be made from 1”x10” boards. In order to hide screw holes used to attach these boards to the tabletop, you will need to stain them in 2 steps. First, stain all the edges of the boards and one surface boards as well. Now that both the base of the table and boards for the tabletop are dry, screw all the boards to the frame using predrilled First, take one of the 1”x10”x46 ¼” boards and place it stained side down so there is 1 ⅛” gap between the frame and the edge of the board both on the sides of the table and end of the table. Using 5 pcs 1”x10”x60” boards, assemble the middle of the tabletop. Once this board is screwed in place the rest 4 boards putting them right next to the two boards already attached. Lastly, take the remaining 1”x10” board and screw it in aligning its ends with the edges of other boards. Screw it in like the rest of the boards. Using wood filler, fill in all the screw holes left in the tabletop. Let it dry according to the manufacturer's recommendations. Once dry, cover the base of the table with plastic and stain top part of the table using wood stain. After the stain dries you can apply a clear coat to the desired finish. Be sure to glue each joint before screwing together.Free Farmhouse Table Plan
Materials
Tools
Optional
Instructions
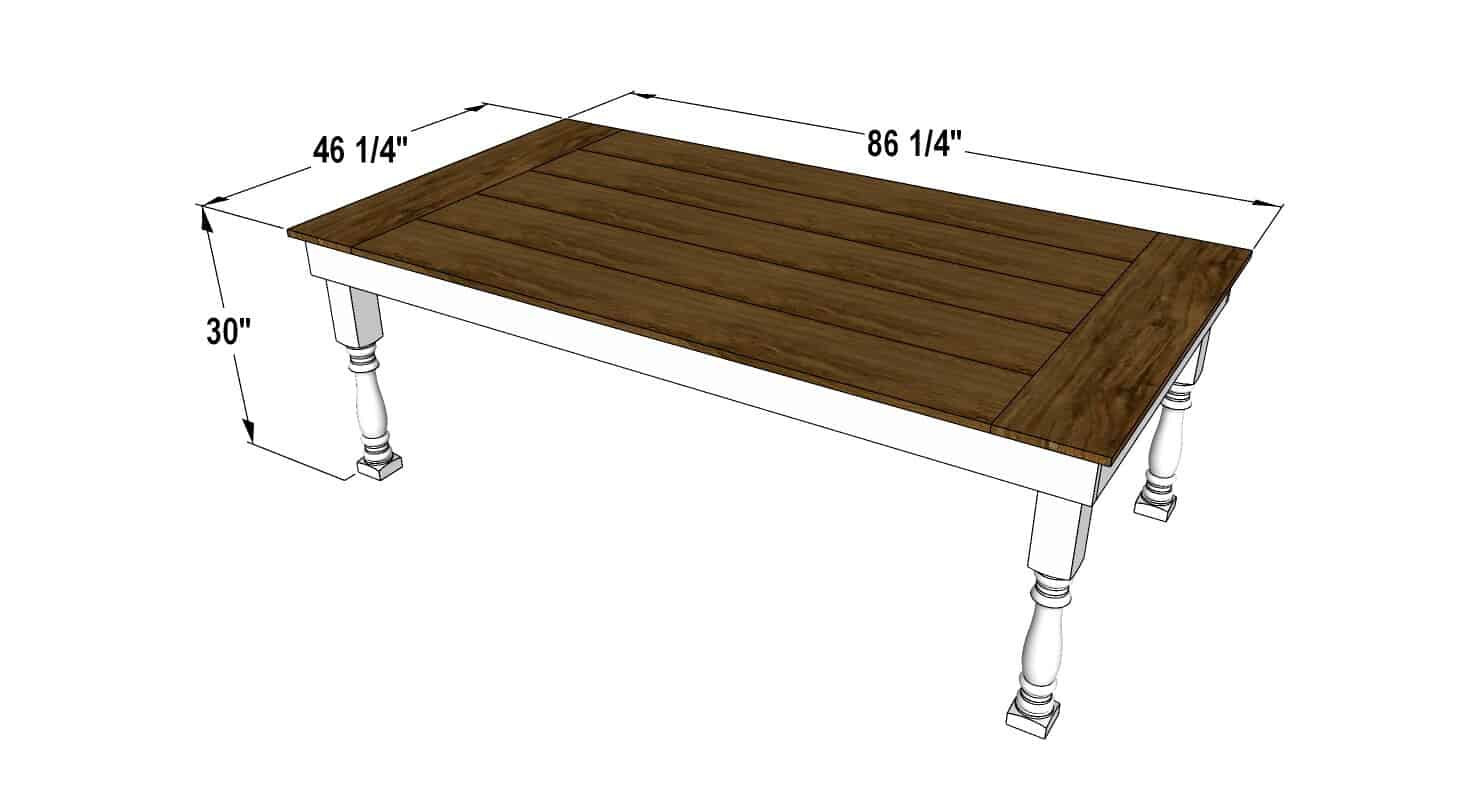
Overall size:
NOTE:
Step 1
Cut list:
Cut 2 pcs 4”x4”x42”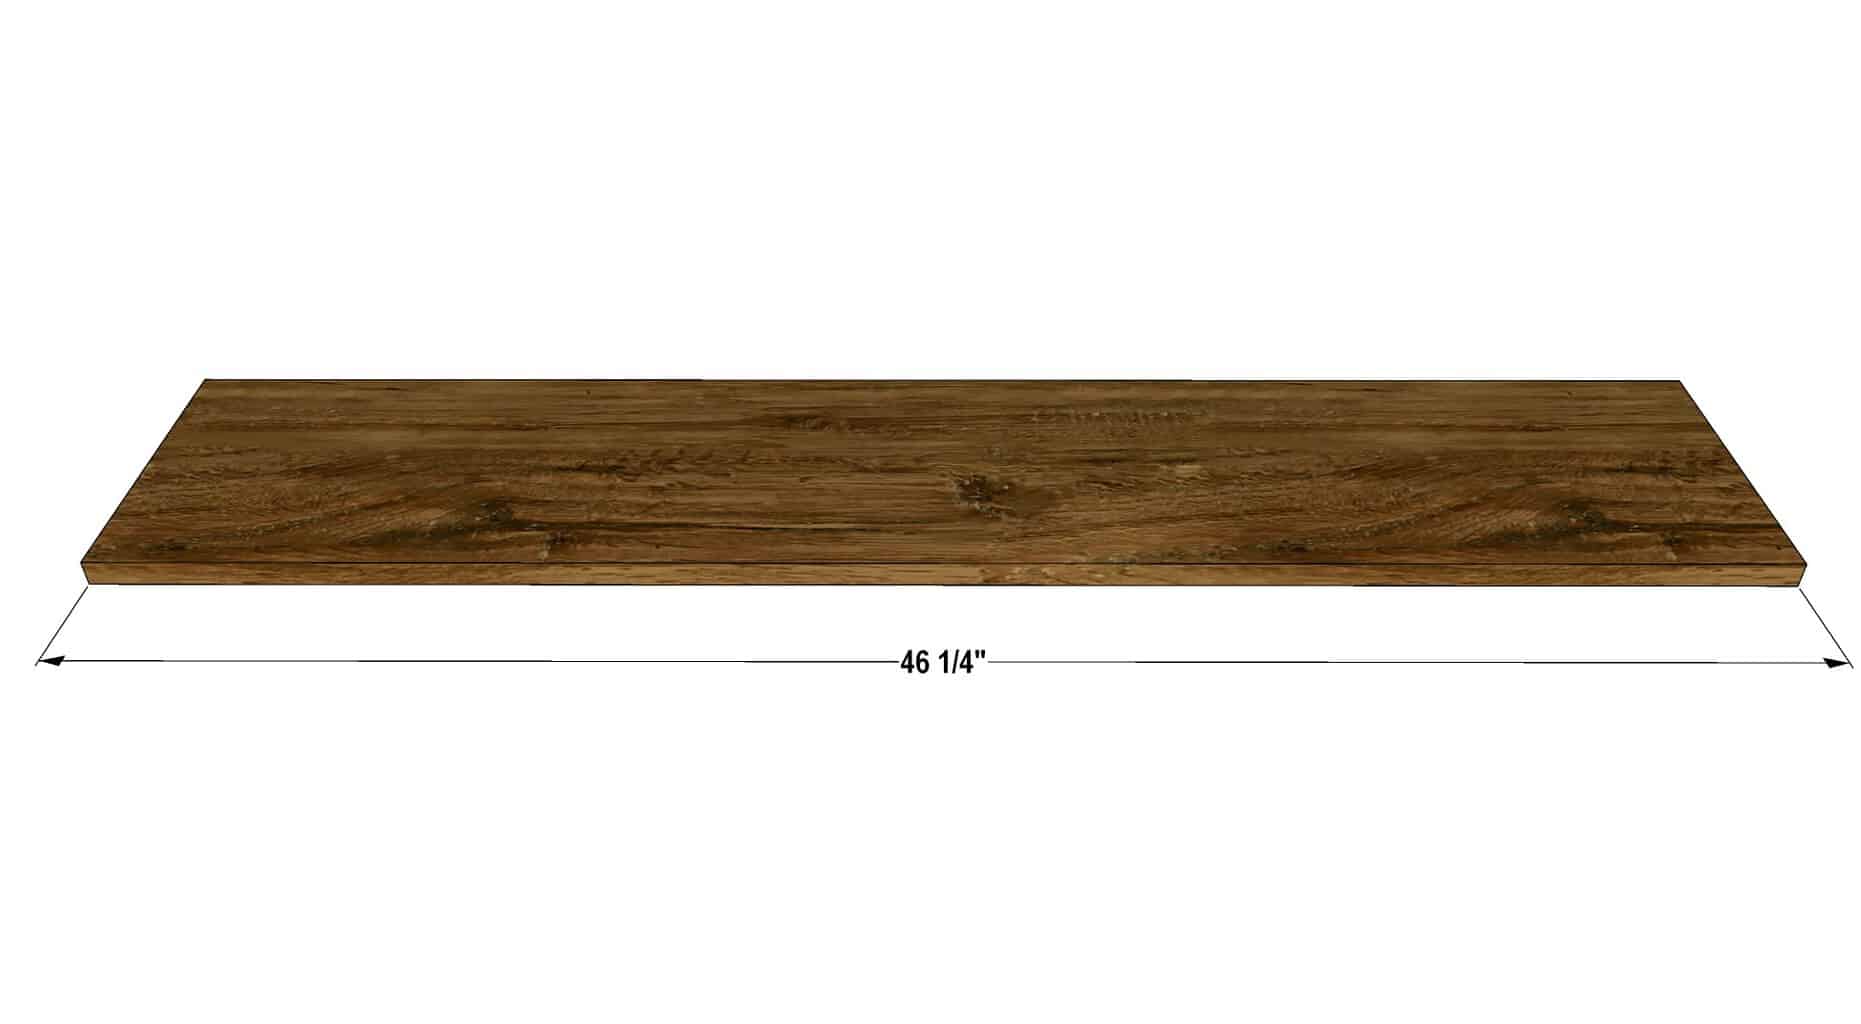
Step 2
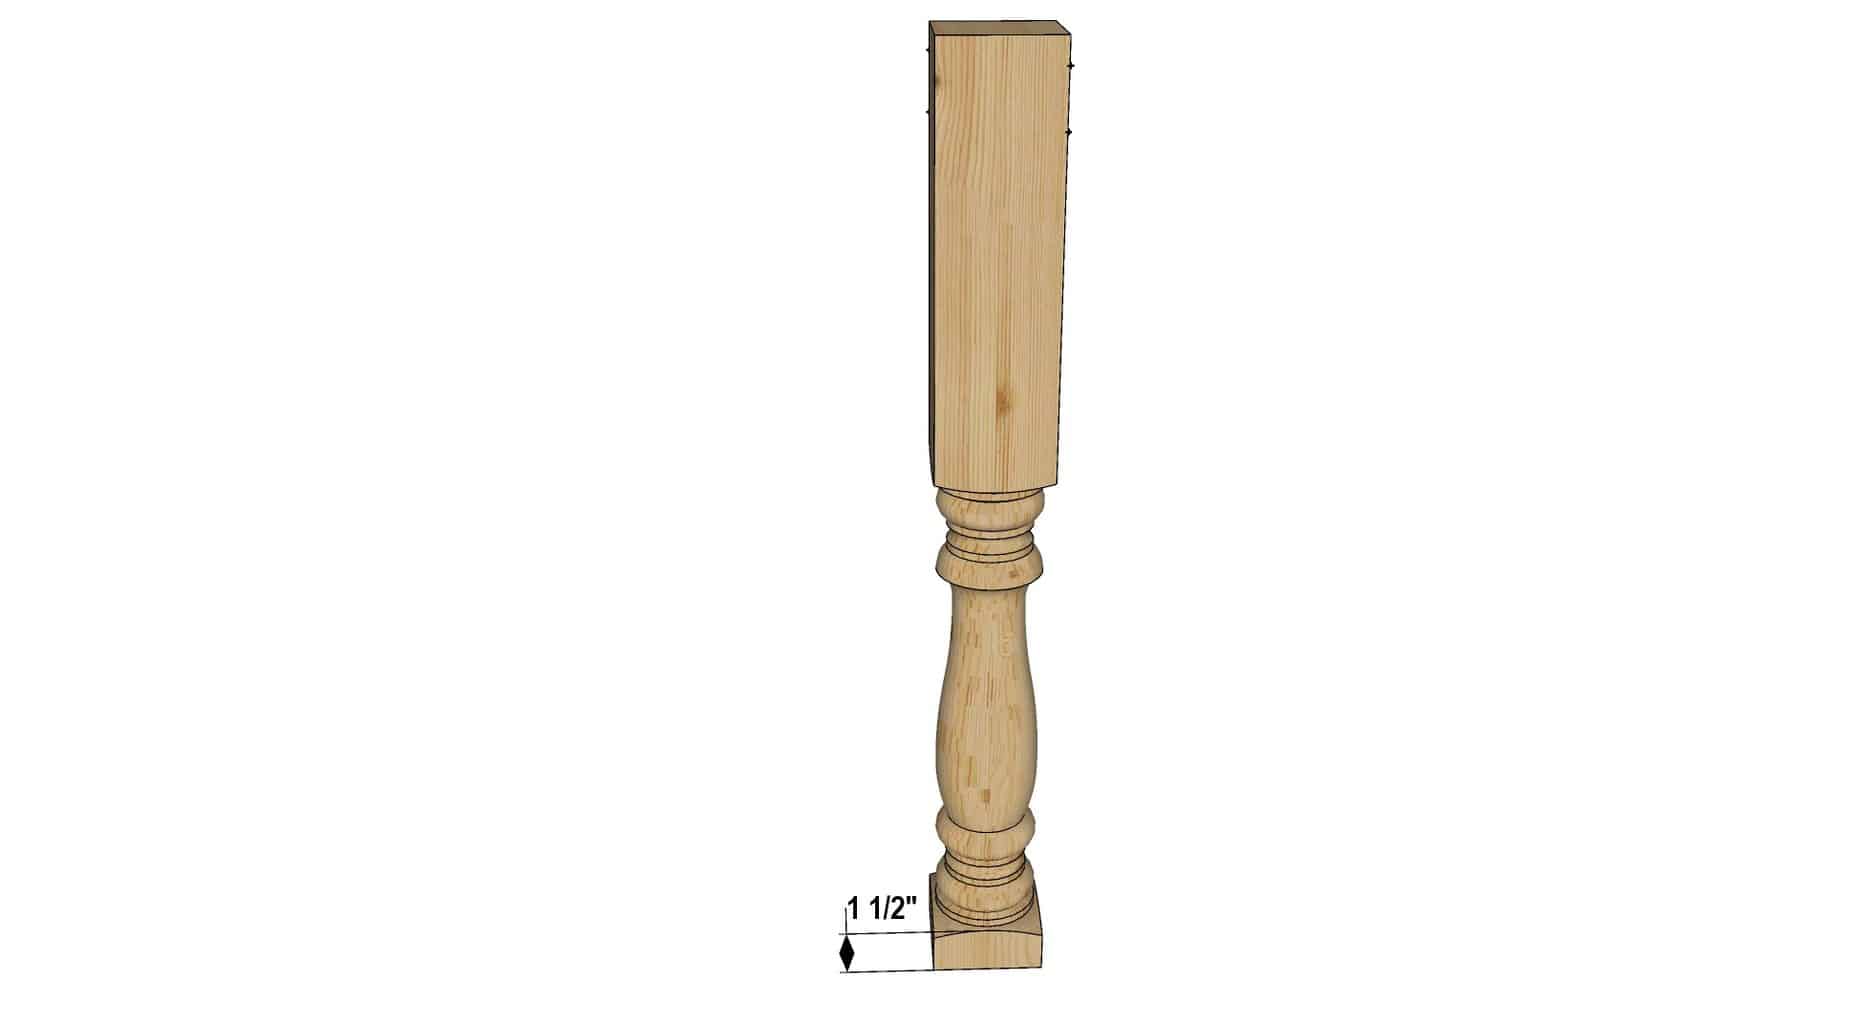
Step 3
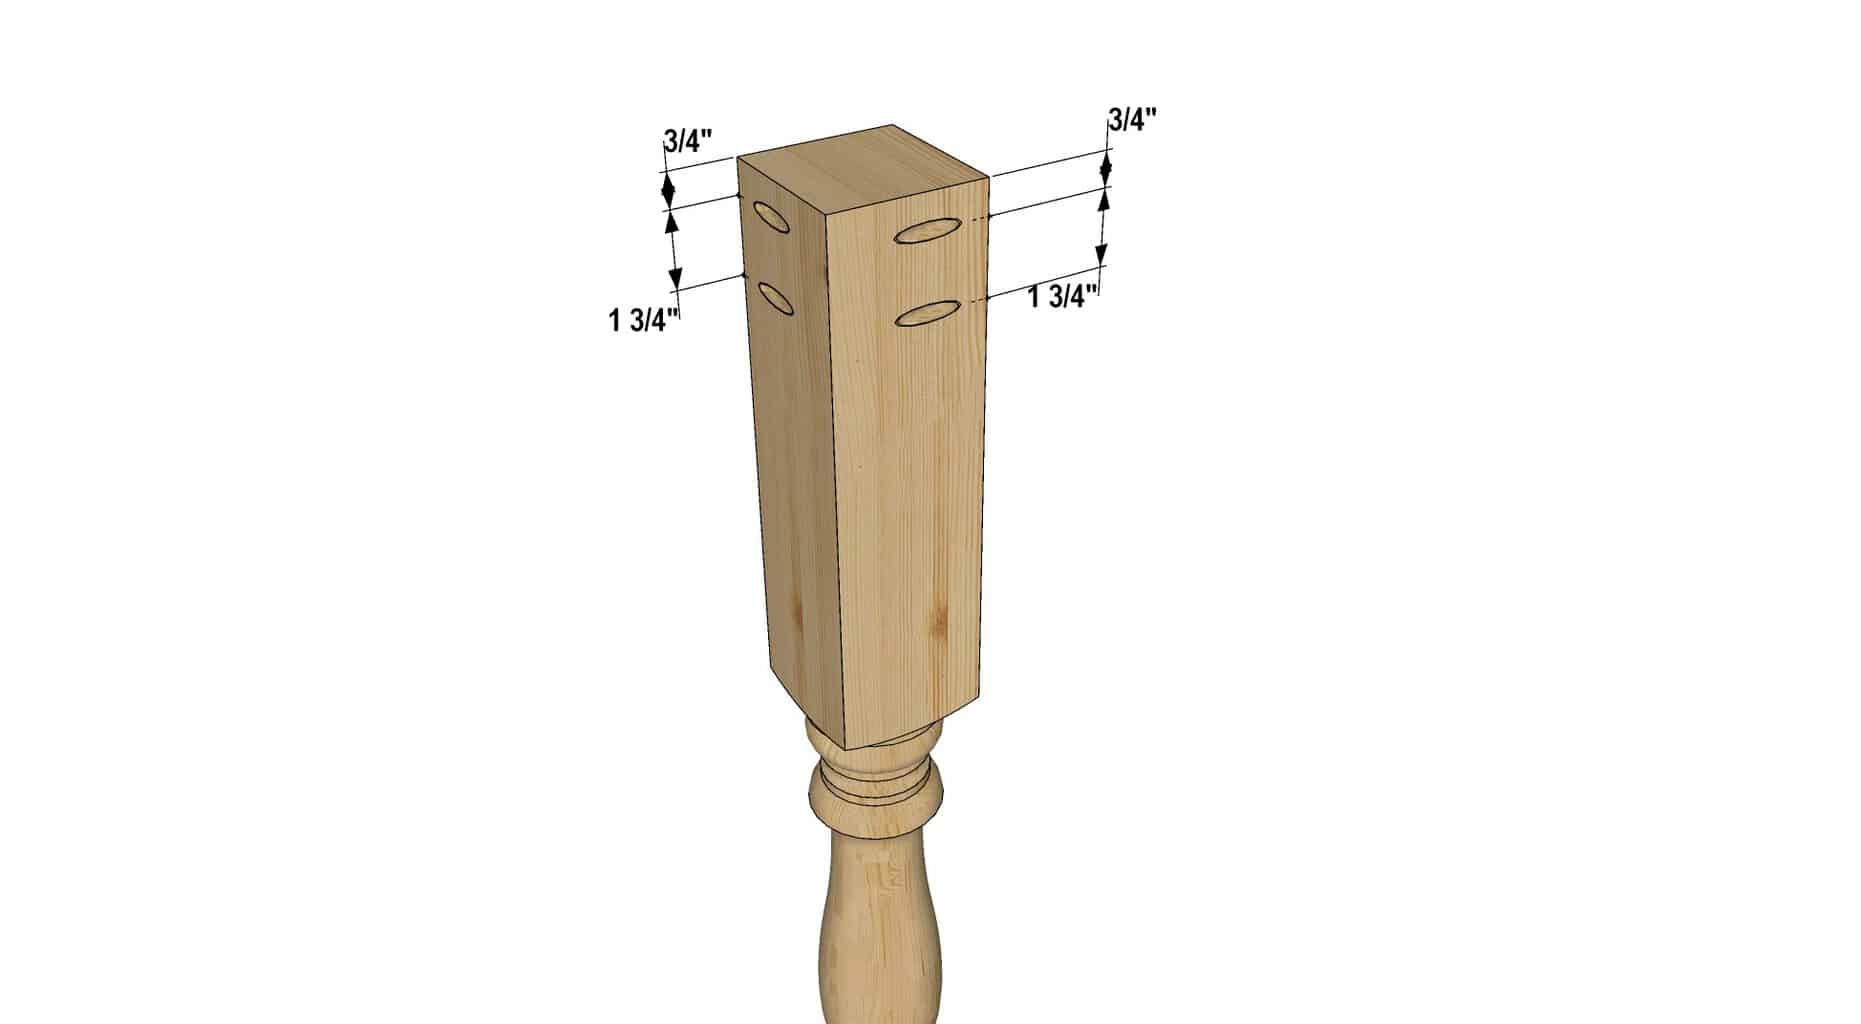
Step 4
You might even want to bolt this joint; we didn’t, and our family of 8 has used this table for over 2 years at the time I wrote this post.
The ends of the board should align with the legs. Make sure everything is square and both legs are parallel.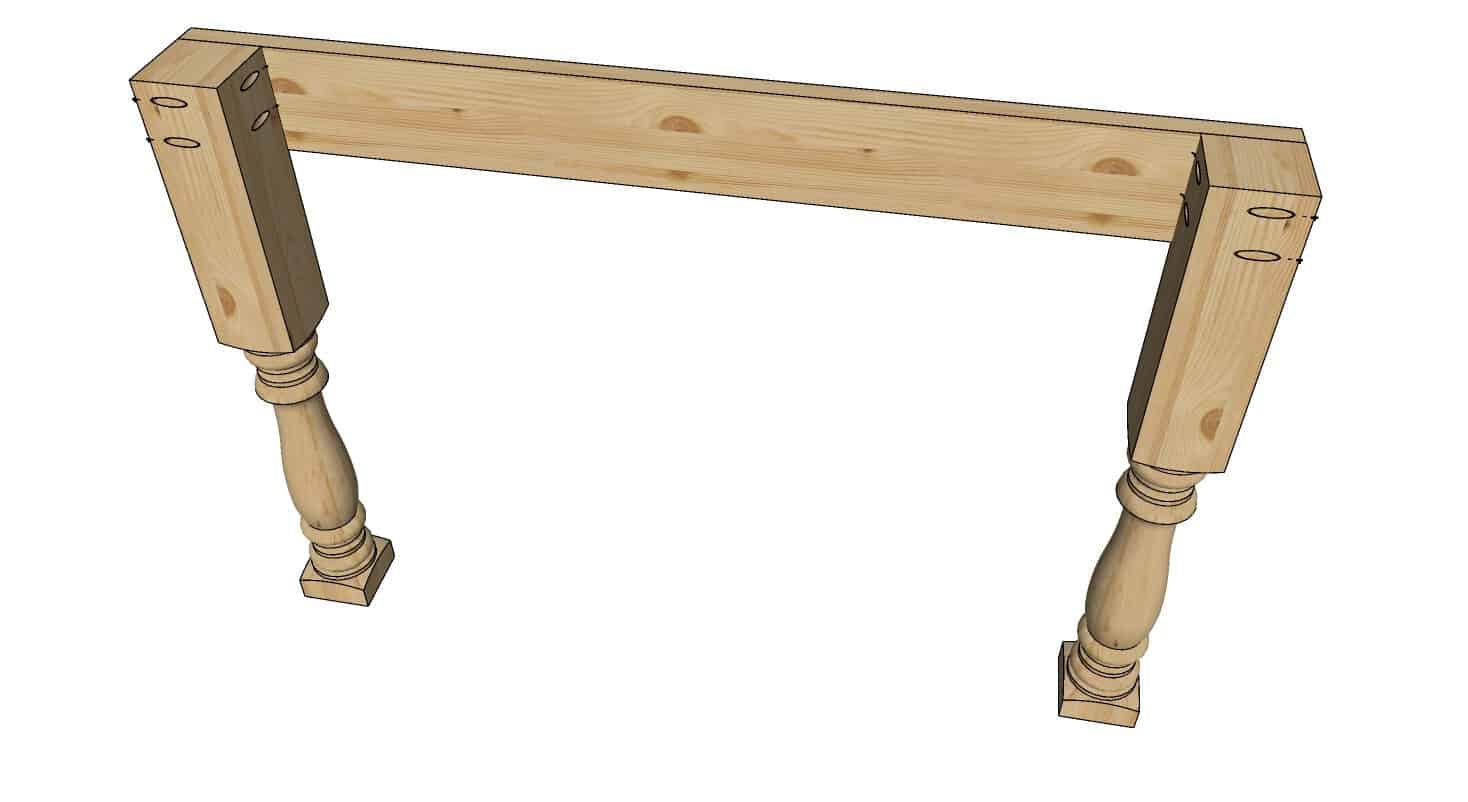
Step 5
Joint these pieces using pocket holes in the legs of the table.
The end of the boards should align with the ends of shorter boards on the leg
assemblies as shown.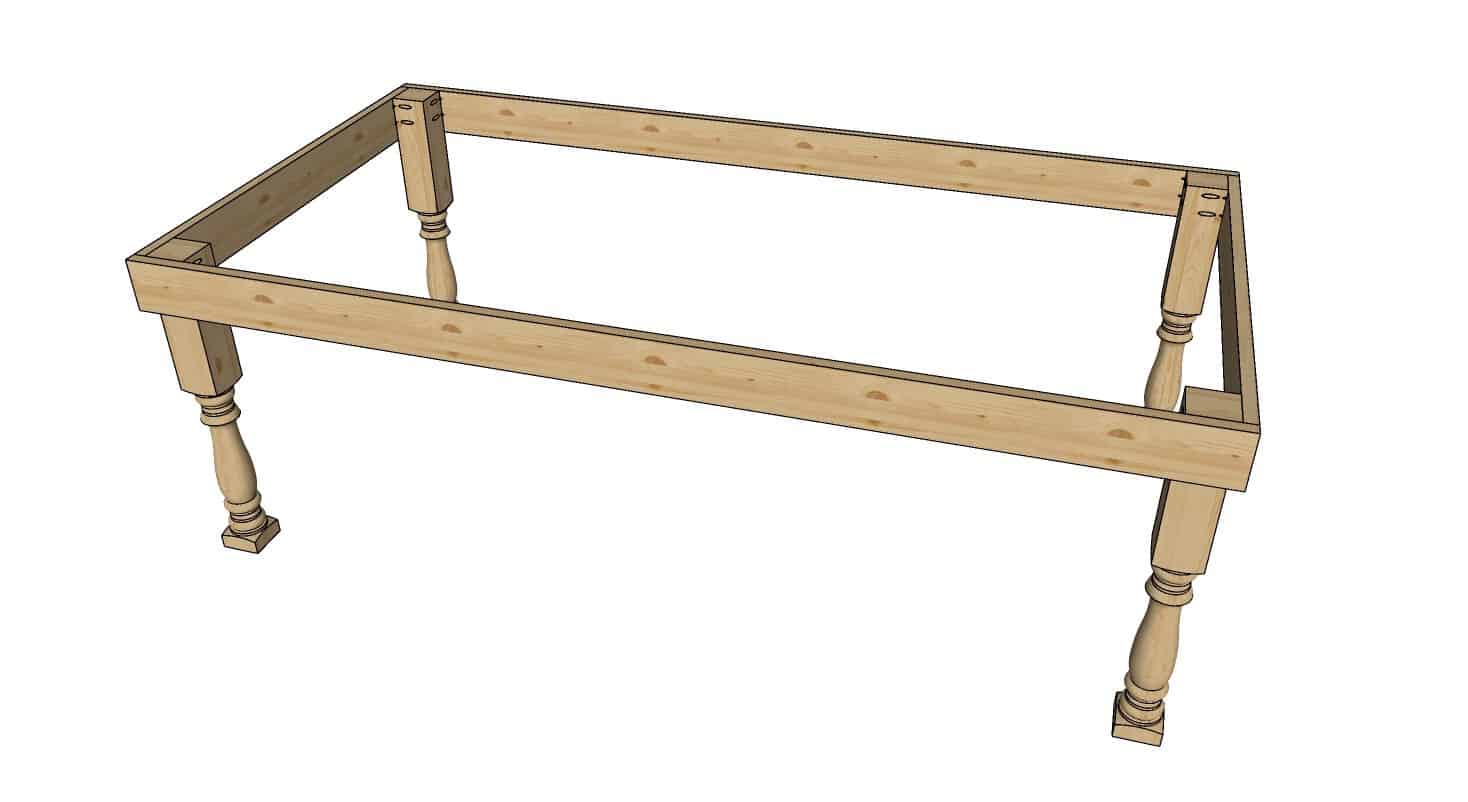
Step 6
If only 3 legs are touching the ground, letting it sit overnight on a flat surface will let things settle out the way they should be.
There should be 1 ⅞” gap between the edge of the leg and the edge of the 4”x4” pieces. 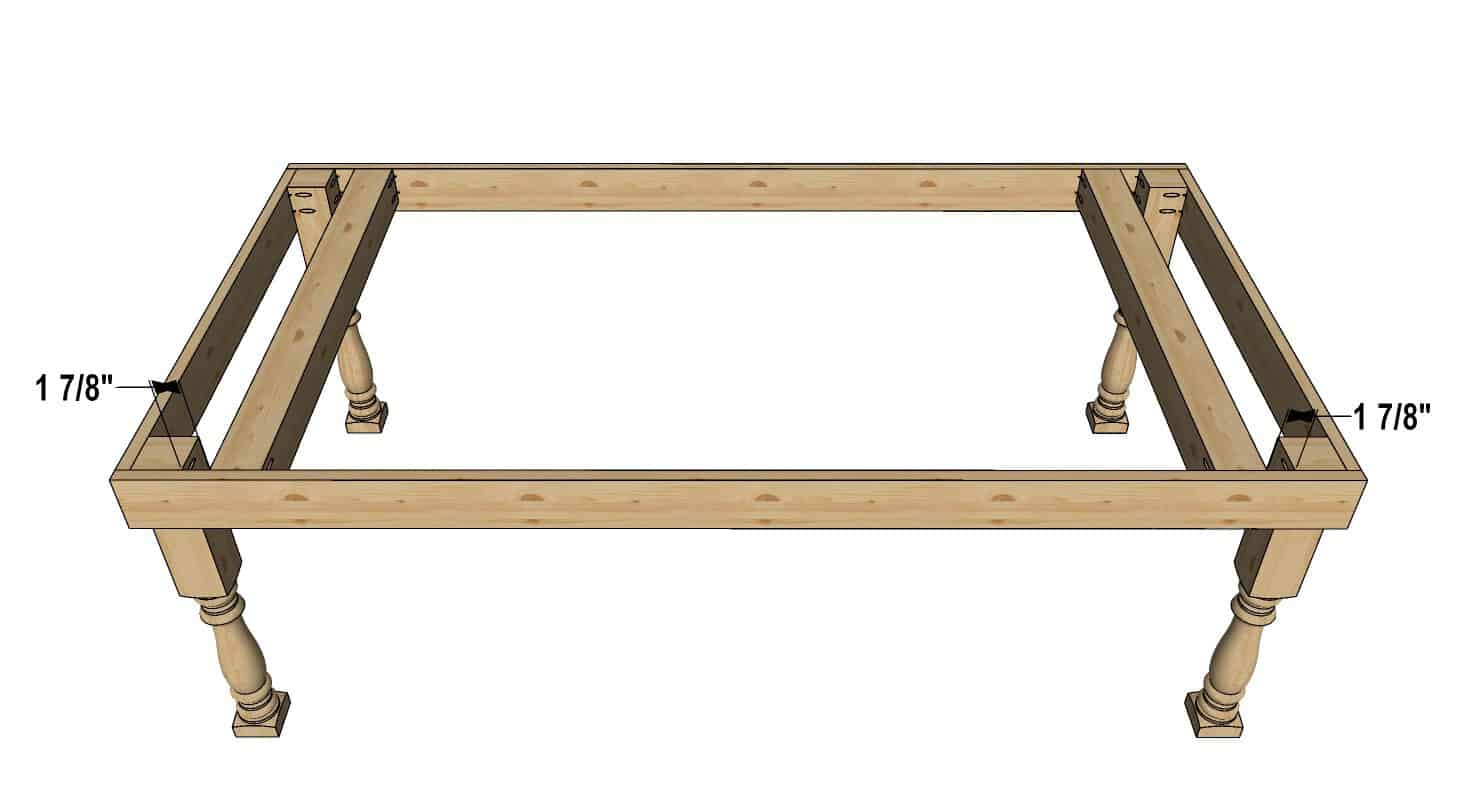
Step 7
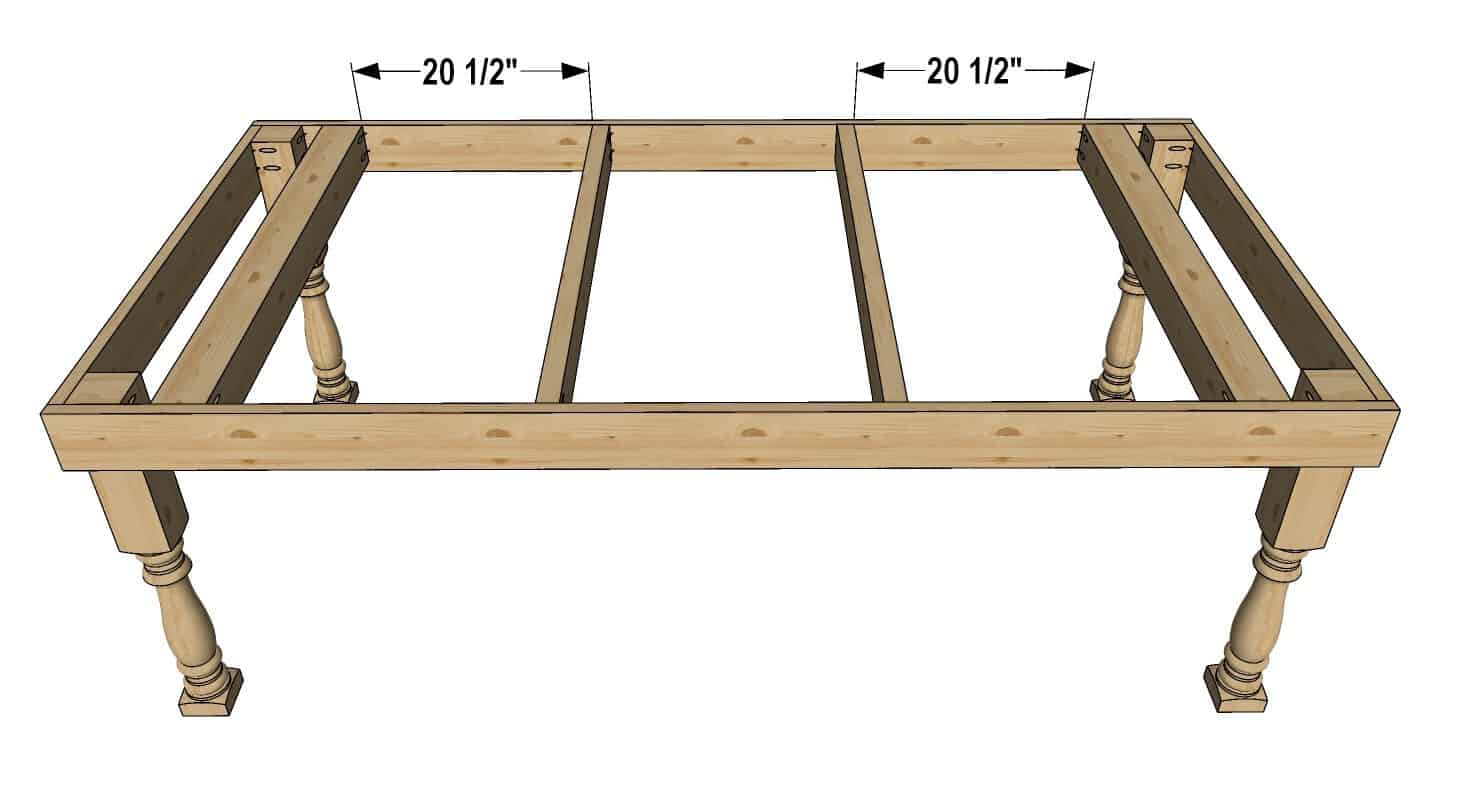
Step 8
table.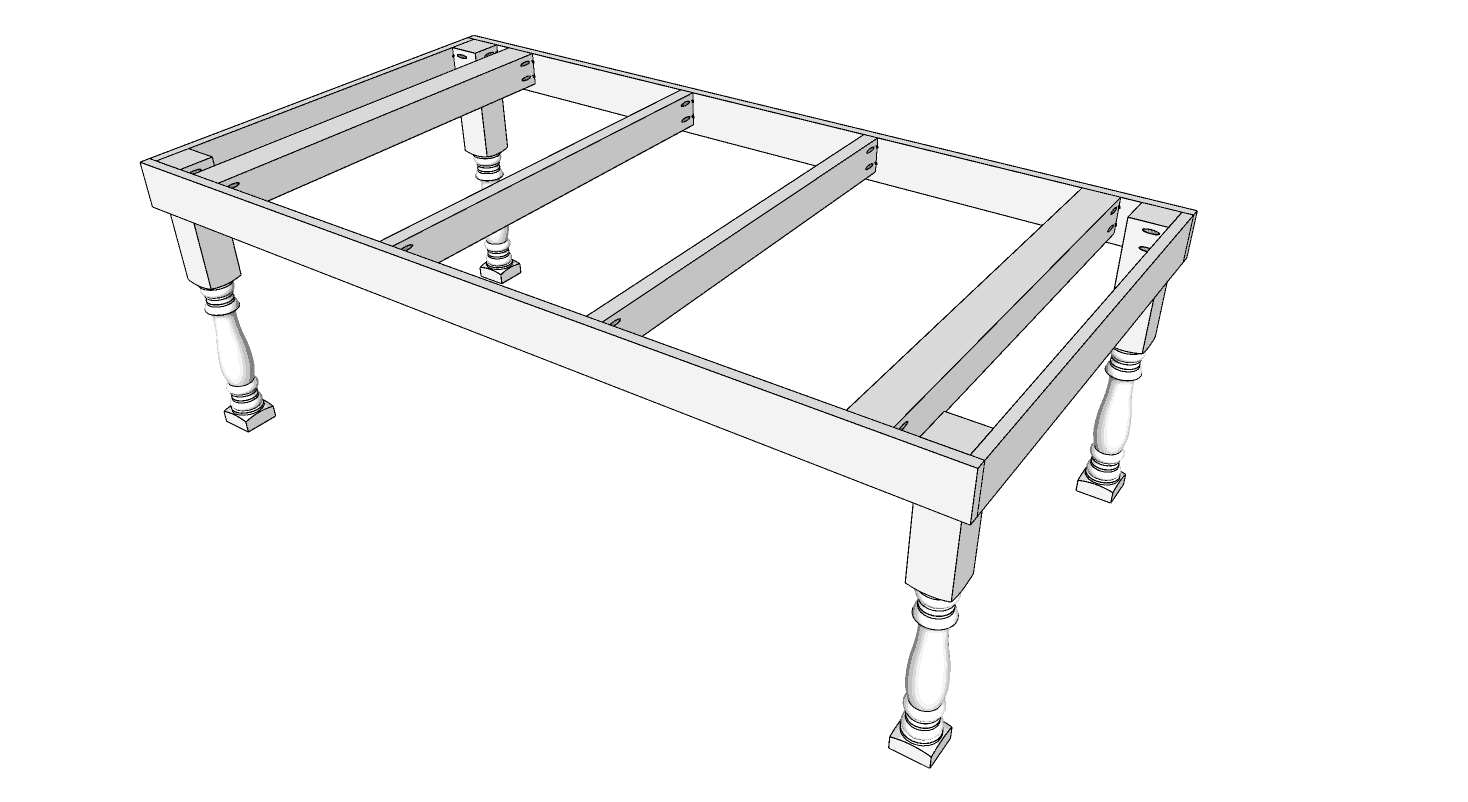
Step 9
Leave one surface of the boards unstained. This will become the tabletop at
the end and will be stained after the boards are put in place.Step 10
holes.
Make sure this first board is screwed in accurately. It will be used as a guide for all the rest boards.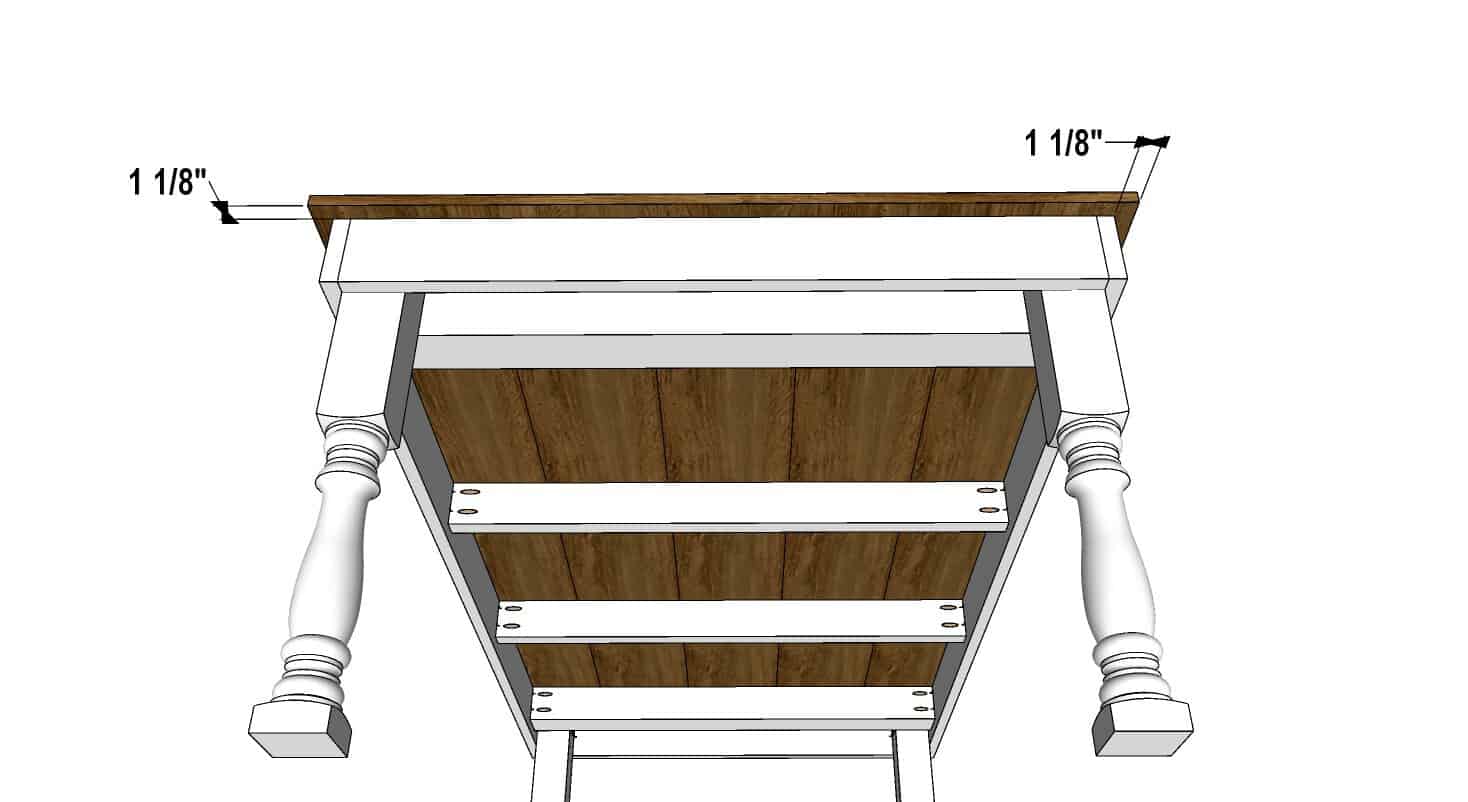
Take the first board and align it with the end board. Make sure the corners align perfectly and the board is straight. 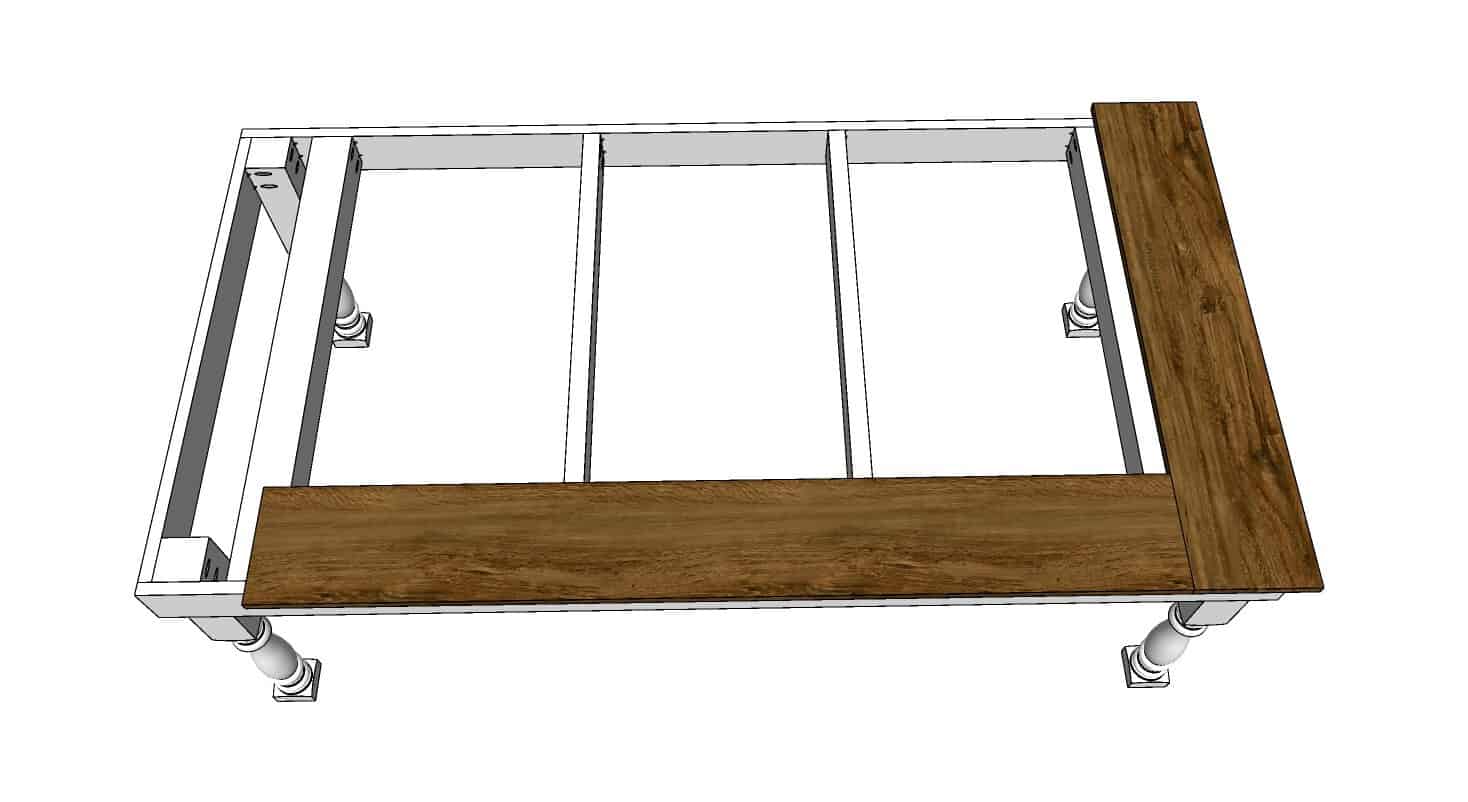
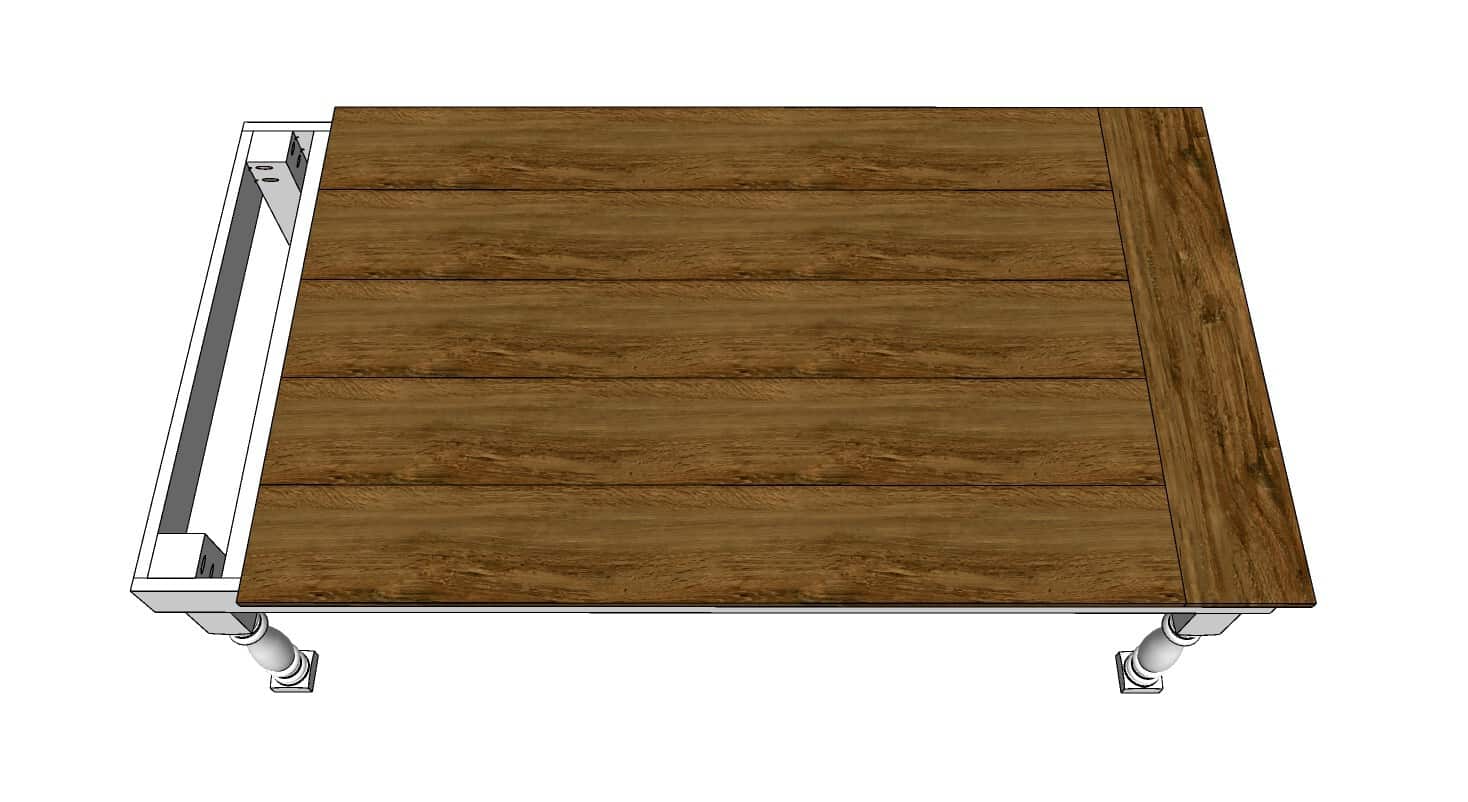
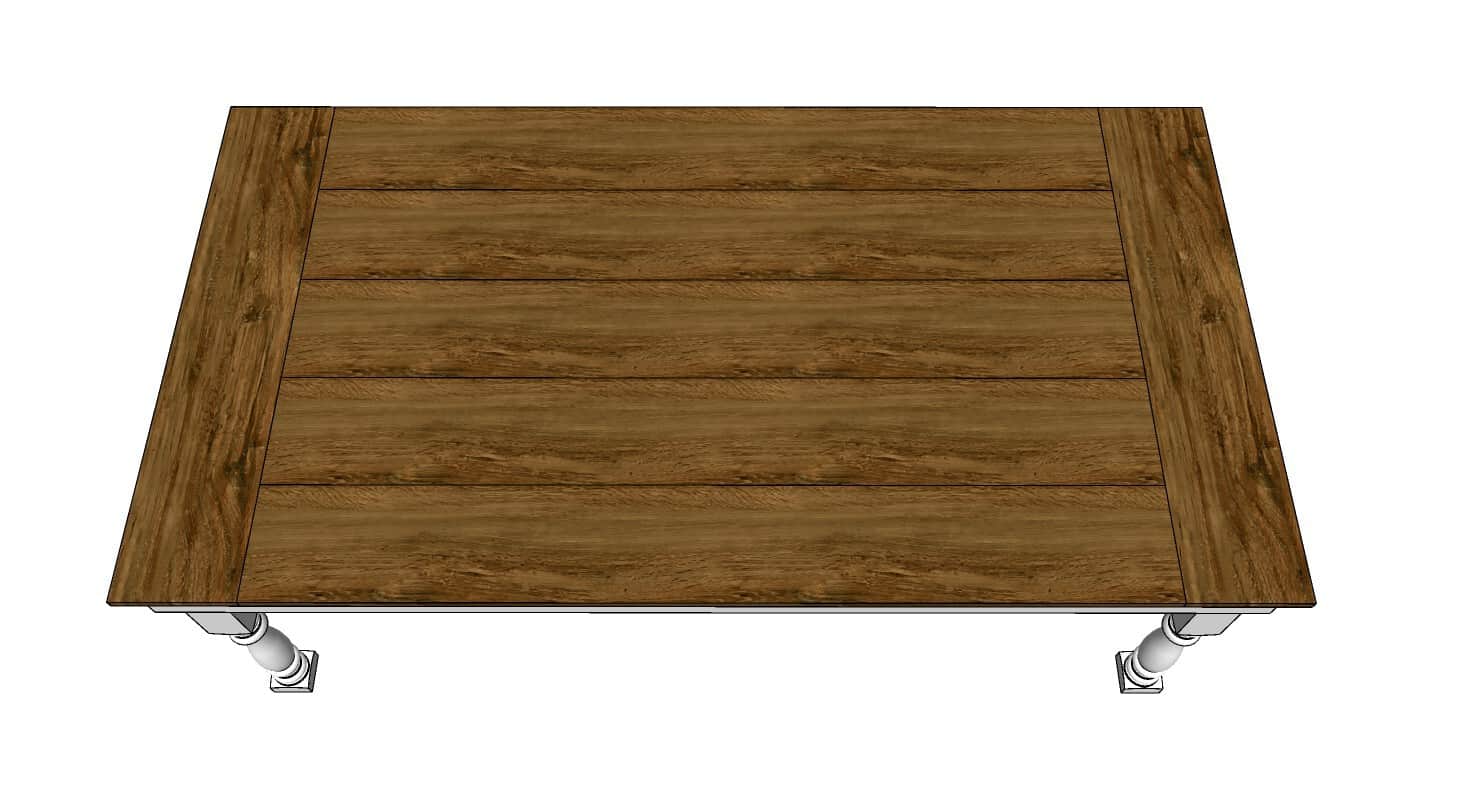
Step 11
Step 12
Step 13
Notes



I love this!!
I have a narrower version but would love wider.
Question, do two chairs fit side by side on the ends?
Yes! They are a bit tight, so if you’re planning on that, it’d be best to put two of the chairs next to each other, have two folks sit on them and measure it up.
We can fit an 8 and a 10 year old beside each other on the end when company comes, and it’s great.
We love having the bench on one side too, can fit a LOT of kids on when company comes 🙂
We’ve sat very comfortably around this table with our family of 8 and another family of 6.
Can you share what hardwood you chose for the top of your table, we really like the grain of yours but having a hard time placing it. Thank you so much for sharing this plan, we too have wanted a farm table but the price always scares us away. Excited to get started.
Do you have the plans for the bench? I read they are coming but wanted to be sure I didn’t miss them 🙂 beautiful table!