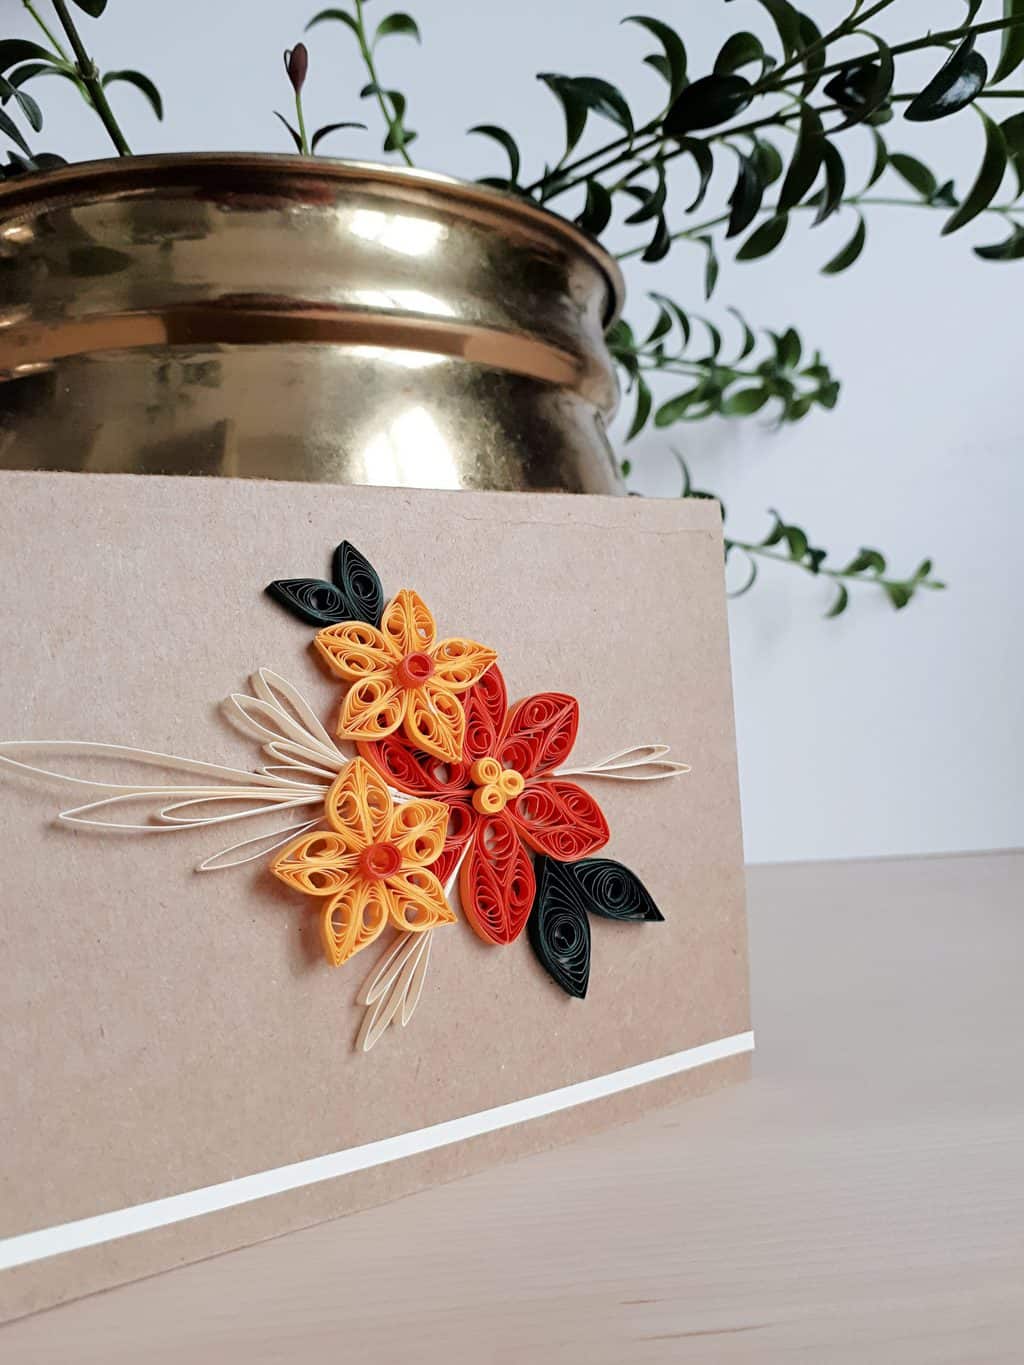
The art of paper quilling was introduced to me when I was about 10 years old.
My Mom had received a little thank you card from someone with a single quilled flower on the front. We had never seen anything like it before, and she kept the card tucked into the frame of her bedroom mirror above her dresser.
I remember looking at it every day and wishing I knew how to make something just like it – so intricate and beautiful! The person who had given it to her said it was really easy to do, but it looked so finely detailed and complicated.
Then one day, we noticed a quilled card on display at our favorite specialty craft store (no longer in business, sadly). The manager directed us to the paper quilling section, and we came home with quilling papers and tools to try our hand at this new craft.
We loved it, and to this day, I am still amazed at how many beautiful designs can be made by simply rolling, squeezing, and gluing strips of paper together!
My Mom began quilling wedding invitations and displaying them in shadow boxes to give as gifts to newly married couples, and occasionally offered in-home classes to ladies who were eager to learn.
When I got married, I didn’t have any of my own paper quilling resources to take with me, so I improvised and made a tool by clamping off the end of a sewing need to slip a paper strip into. It worked perfectly!
Then a sweet blog reader in Texas mailed me her entire paper quilling stash that she no longer had time for.
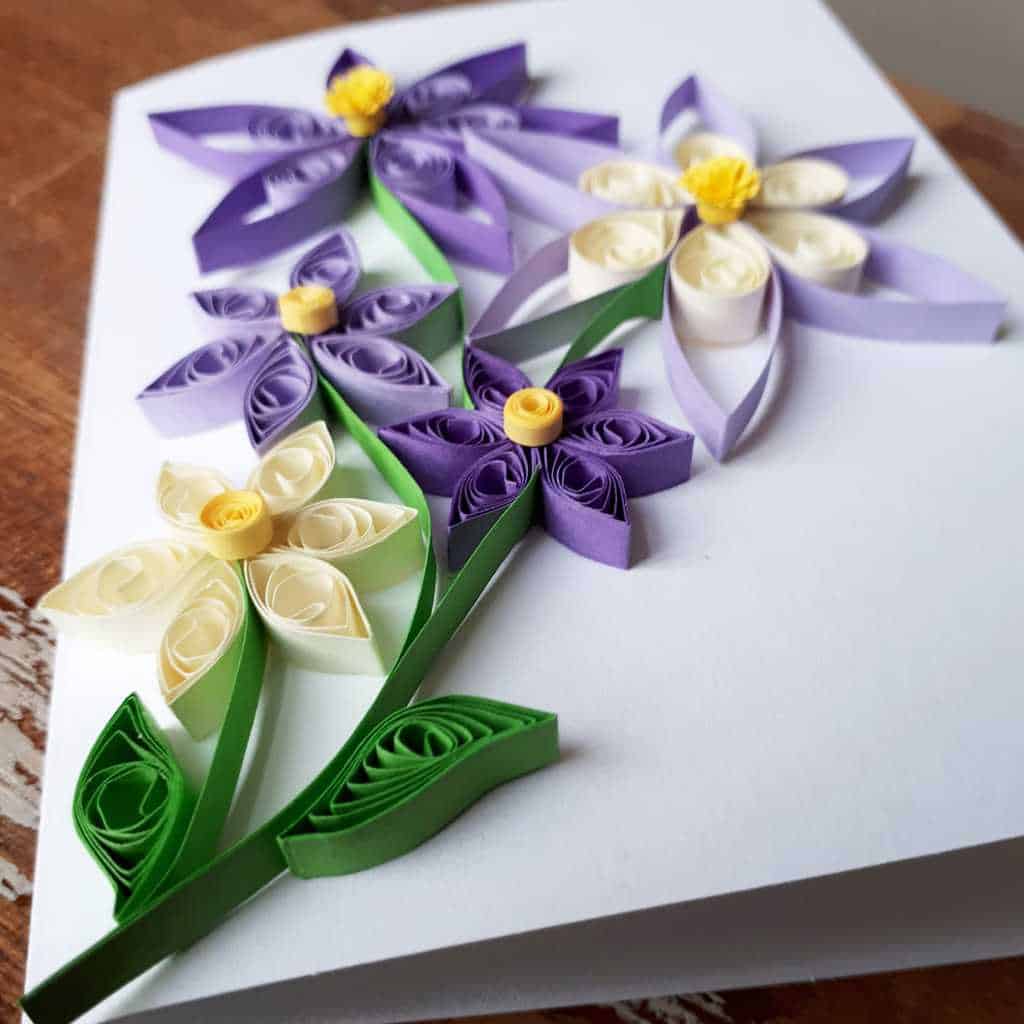
Our girls and I are still enjoying the effects of her generosity, and even though paper quilling can be time consuming, it has provided us with a fun Quiet Time activity that produces beautiful greeting cards that are fun to give and receive.
Here’s how easy it is to paper quill. Think of it as next-level cut and paste!
The Art Of Paper Quilling
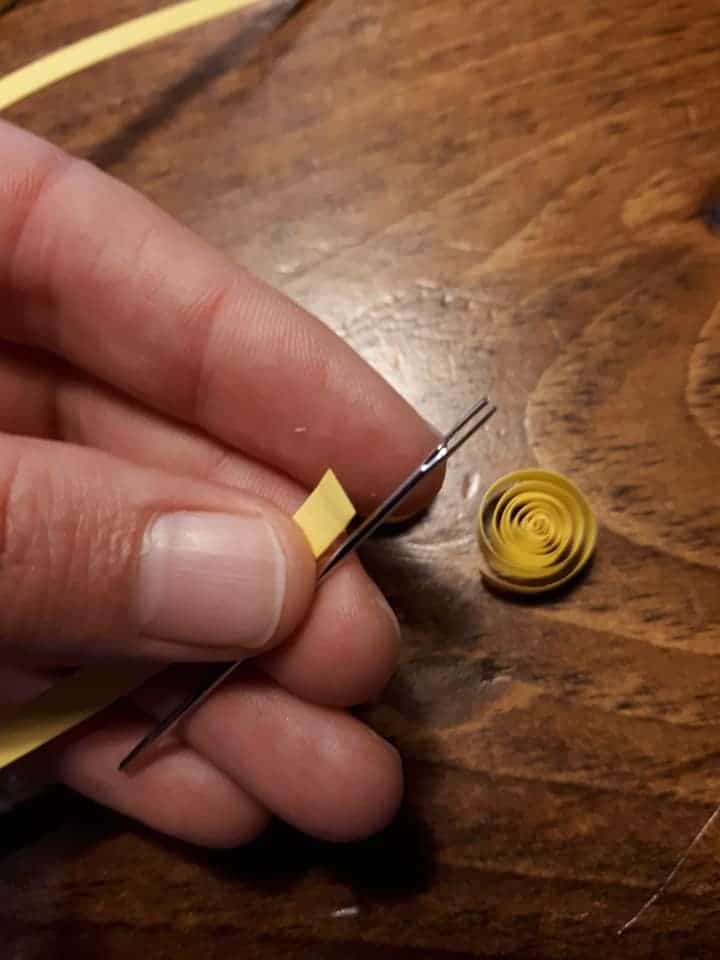
Step 1.
First, you’ll need a quilling tool, or, if you don’t have one, clamp off the tip of a sewing needle so you have an open slit in which to hold your paper. It works just as well!
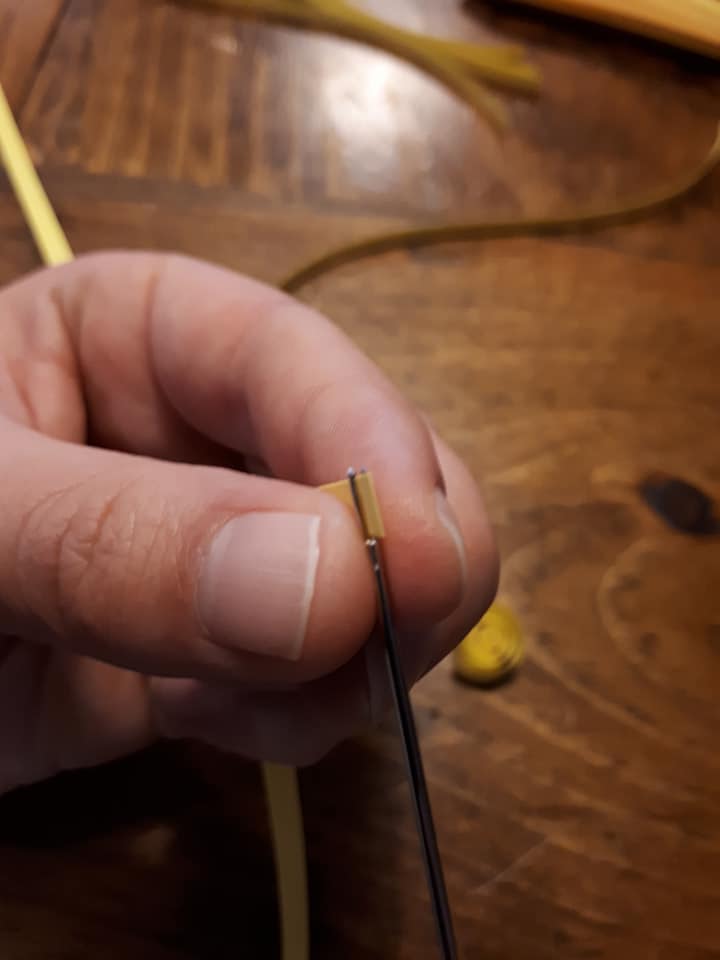
Step 2.
Next, you’ll need several long, skinny strips of colored paper to quill with. You can cut them yourself with a paper cutter, but pre-cut quilling paper is very inexpensive and readily available in many colors online.
There are several different widths to choose from, but I prefer the skinniest paper strips since they are the most versatile.
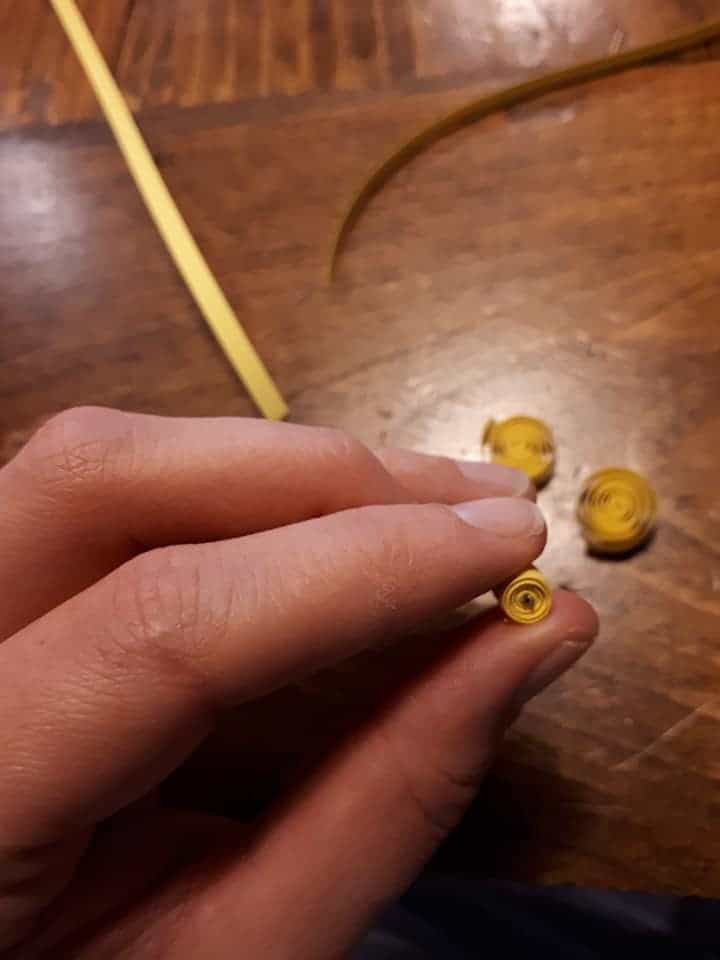
Step 3.
Use your quilling tool to roll up your strip of paper into a coil. You can cut you strips of paper to different lengths to make smaller or larger coils, but if you want to make a flower with uniform petals as I’m doing here, all the pieces should be the same length.
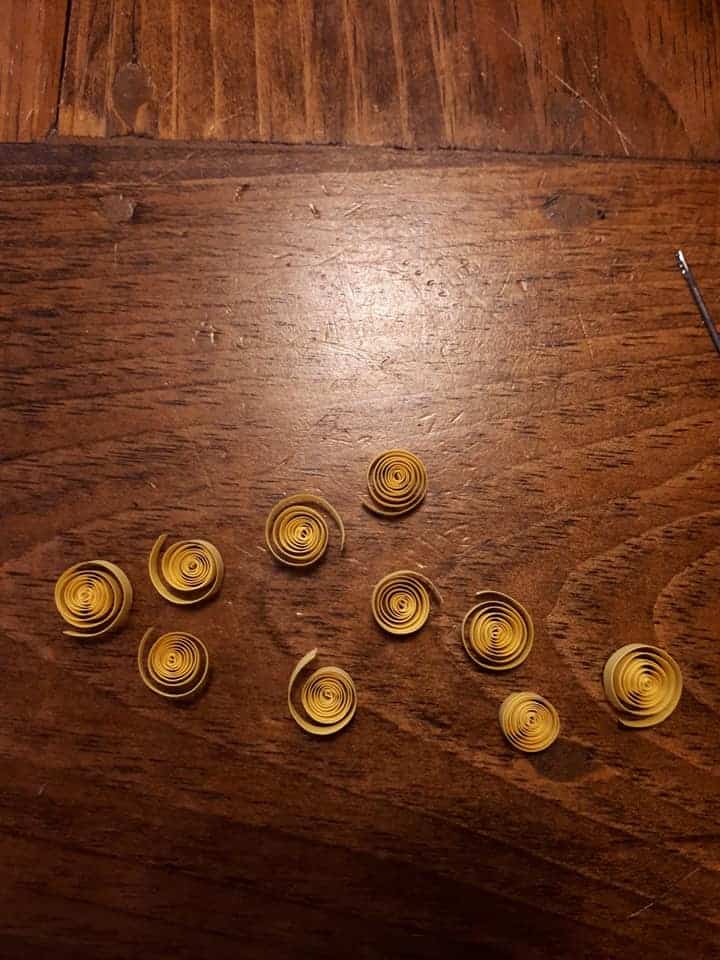
Step 4.
Take your paper coil off the tool and allow it to spring open, leaving a little space between each round of paper.
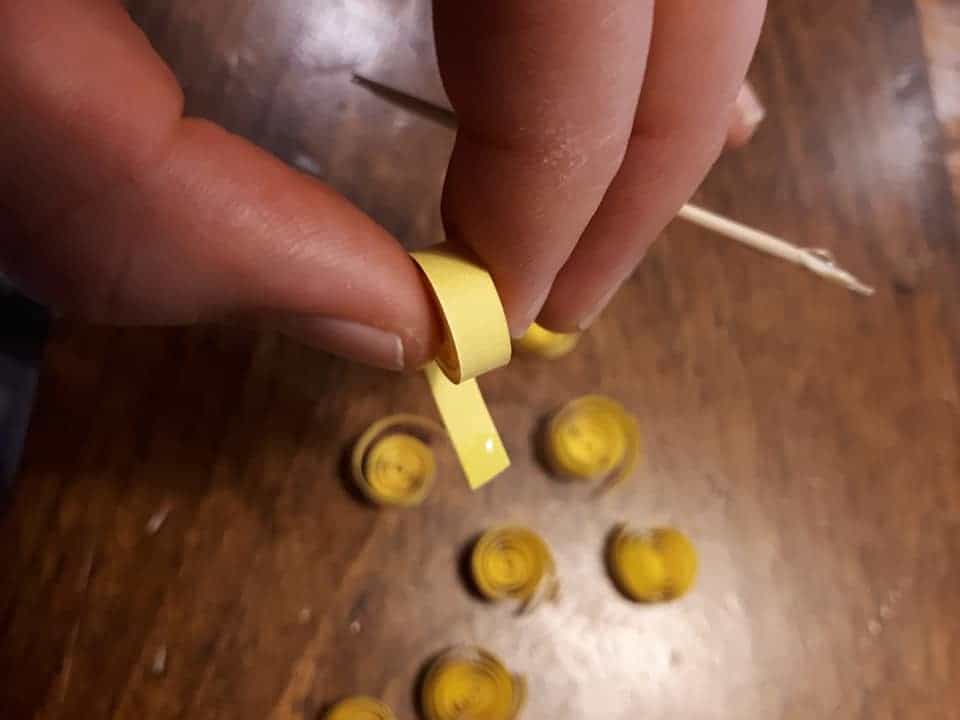
Step 5.
Using a toothpick, apply a tiny amount of glue to the loose end of the coil. (I just use Elmer’s craft glue, squeezed onto a paper plate for easy access.)
Hold for a few seconds until it stays in place and you have a perfectly round circle.
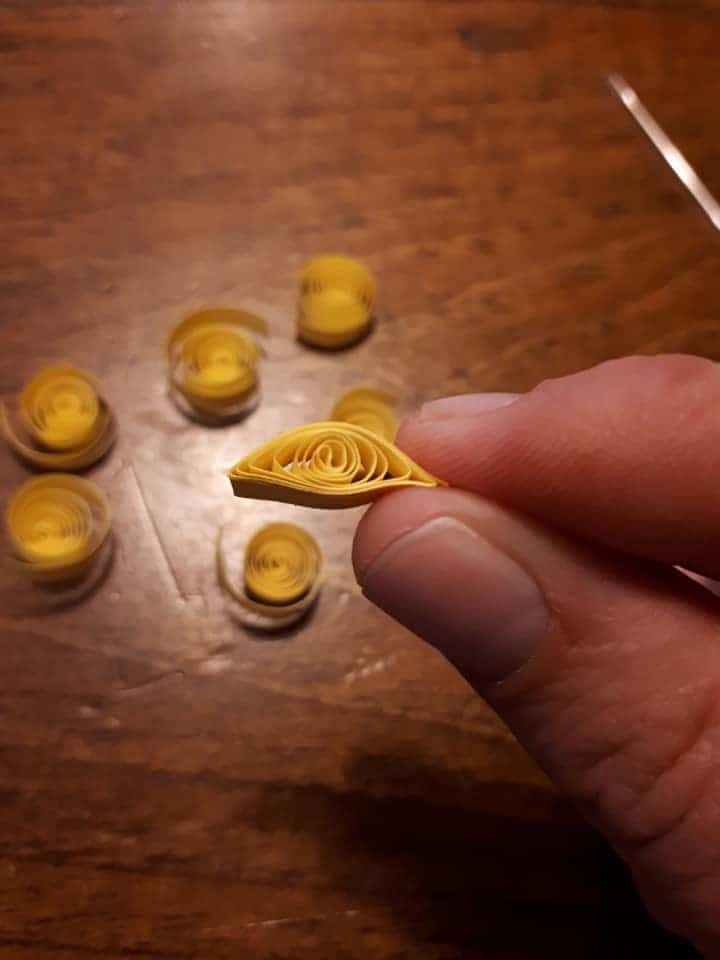
Step 5.
Pinch the ends of your coil to shape it any way you like! Pinching just one side creates a teardrop shape. Pinching both sides creates an “eye.” Four pinches create a square! You can mold a coil into almost anything.
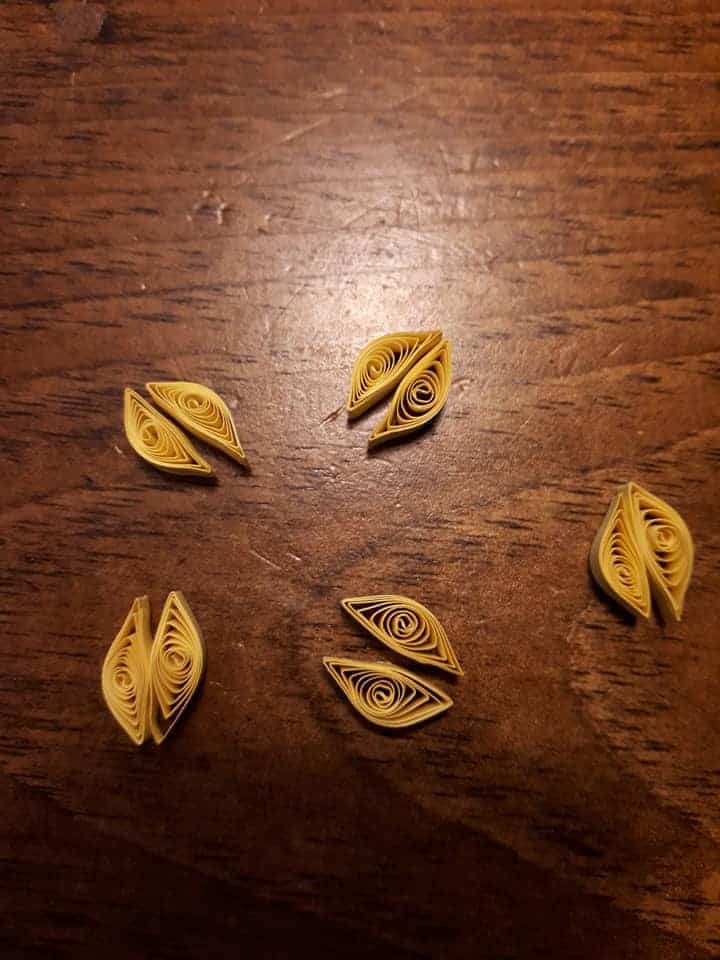
Step 6.
For the flower I’m making here, I needed two two coils pinched tightly on both ends into a crescent moon shape, then glued together, to make one petal.
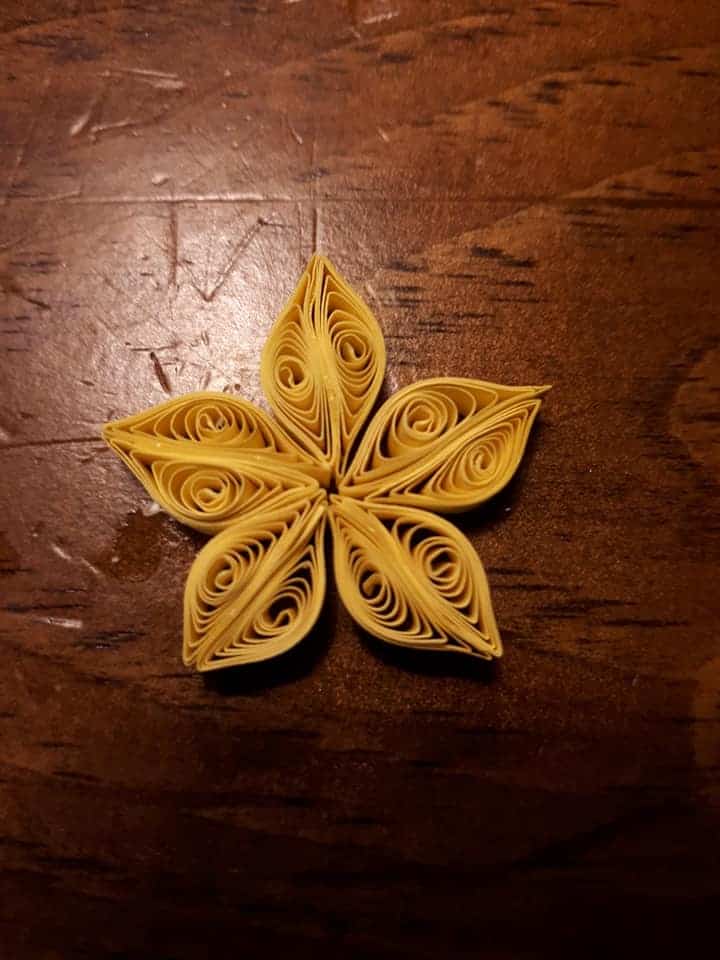
Step 7.
When all the components to your flower have been made, use the toothpick to apply a bit of glue on the sides and ends of the petals to complete your shape.
Do not apply glue to the back of your flower until you’re ready to arrange your completed design on a piece of cardstock.
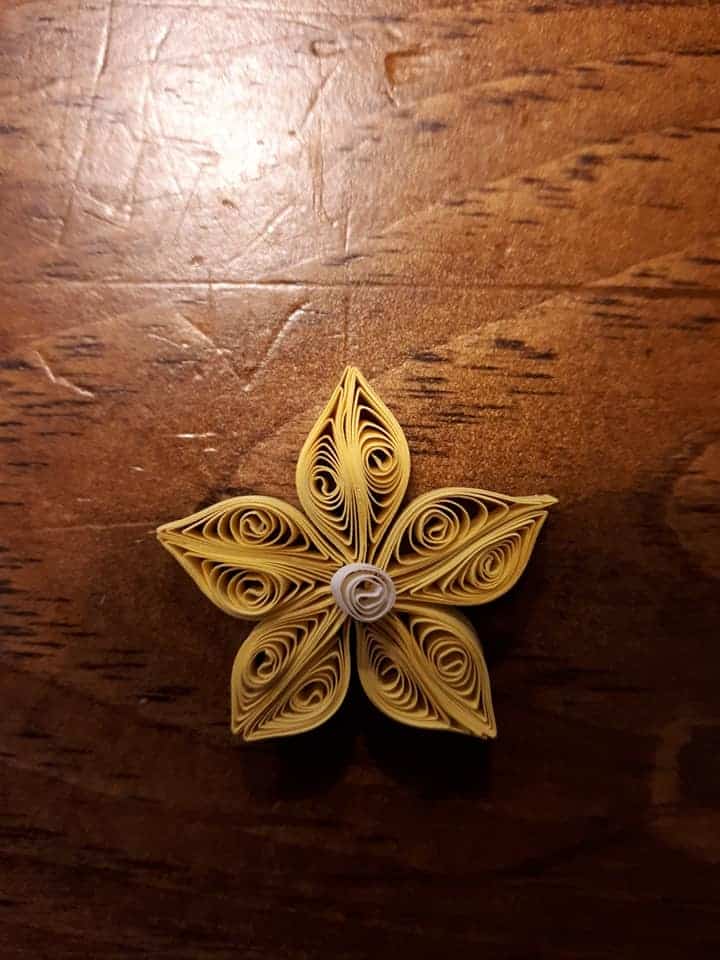
Step 8.
A small coil in a different color makes a great center.
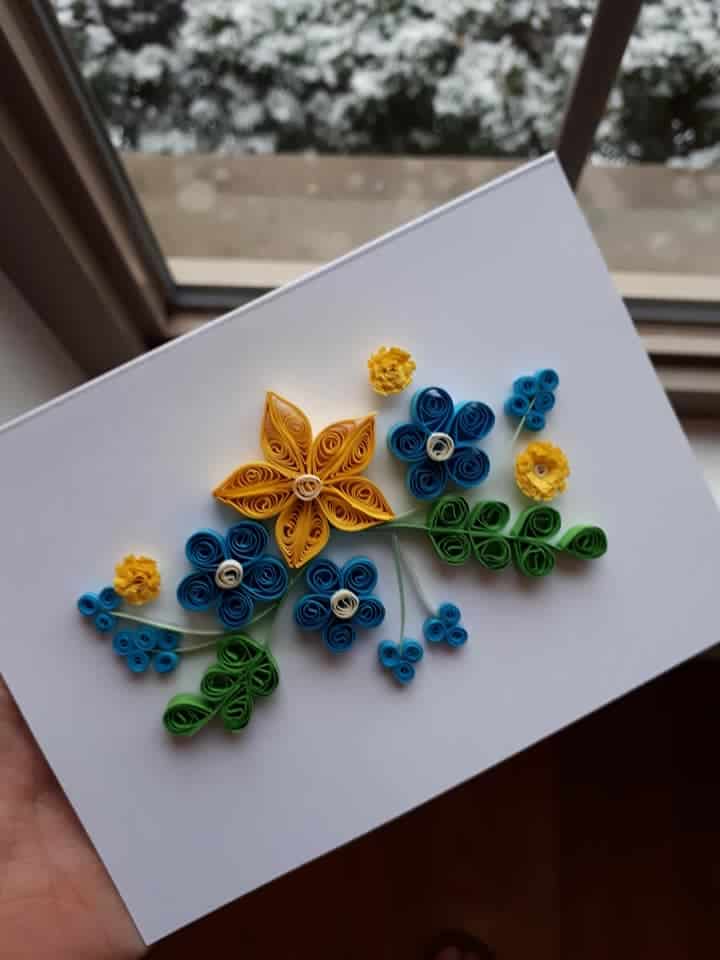
Add a few more different shapes and colors, and you’ll have a beautiful card to bless somebody with!


Thank you for sharing this. We have a quilled snowflake ornament that we bought at a fair in 1988. It’s still beautiful though a bit discolored. It’s amazing how long it’s lasted! We did a bit of quilling in school when I was about ten. It might be nice to do a bit again sometime.
Thanks for reminding me.
Blessings,
Laura of Harvest Lane Cottage