Earlier this week, I showed you our main bathroom makeover! Here’s the easy board and batten tutorial if you’re thinking of installing your own. If I can do it, anybody can!
The best thing about this project is the quality time it gave me with our 4 year-old son. He LOVES tools and is always “fixing” things. I let him help me measure the boards with his own measuring tape. He got to mark the cutting lines with pencil and hand me nails while I hammered up the boards. You can see some of the projects he and my husband do here: boysthatbuild.com
He was such an eager helper and grinned from ear to ear the whole project. “We’re tool men, right Mom? I’m Bob and you’re Wendy!” “Know what, Mom? You’re the best Mom ever. You even have a hammer!”
Other awesome things about this project (in no particular order):
- No power tools required!
- All straight cuts, no weird angle business.
- It can be done in a few hours (I did it over two days because, lots of “helpers” 😉 )
- It’s inexpensive.
- It brightens up a space and adds architectural interest
So, let’s get to it, shall we?
You’ll need:
- lattice boards (how many depends on how many walls you plan on doing and the height you’d like your board and batten to be)
- 2 1/2″ width, pre-primed MDF boards (how many is dependent on the above)
- level
- pencil
- stud finder
- finishing nails
- hammer
- white Kitchen & Bath caulk
- caulking gun
- Spackle
- putty knife
- sandpaper
- Liquid Nails
- damp rag
- primer
- paint
- paintbrush
- fine foam roller
- paint tray
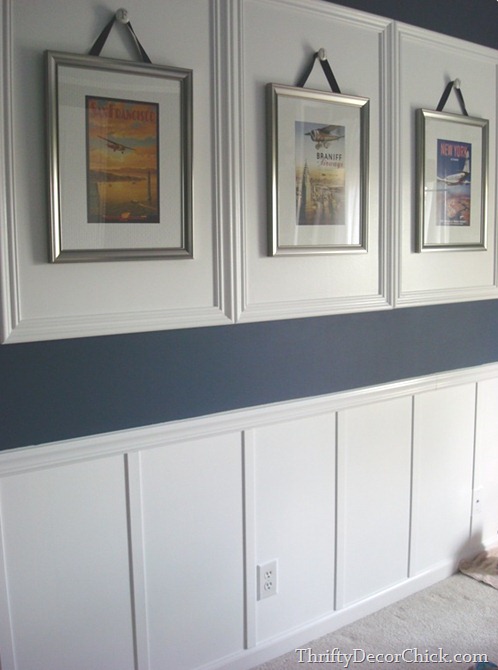
Sarah, from Thrifty Decor Chick inspired me to use lattice boards for the vertical battens and I’m so glad I did! Our local Lowe’s didn’t have any, but I found them at Home Deopt for $7 per 8 ft. piece. Since I was only doing two walls, I didn’t need very many of them. I used 2 1/2″ width, pre-primed MDF boards for the horizontal top and shelf on the wall behind the toilet.
Instructions:
To start, measure the width of the wall you’re installing the board and batten on and hang your wider, horizontal boards first. Measure twice, cut once! I could cut my boards easily with a cheap-o hacksaw.
Use a level to make sure your top board is straight before nailing it to the wall. I found it helpful to make little pencil markings every few inches on the drywall and then line up my board. I used a stud finder to make sure a least a few of the nails were secured to something solid and then added a few more to the ends of the board so it fit snugly against the wall.
This is when you can really tell how uneven your walls are! Don’t worry about any gaps that may appear; you’ll caulk and seal them later.
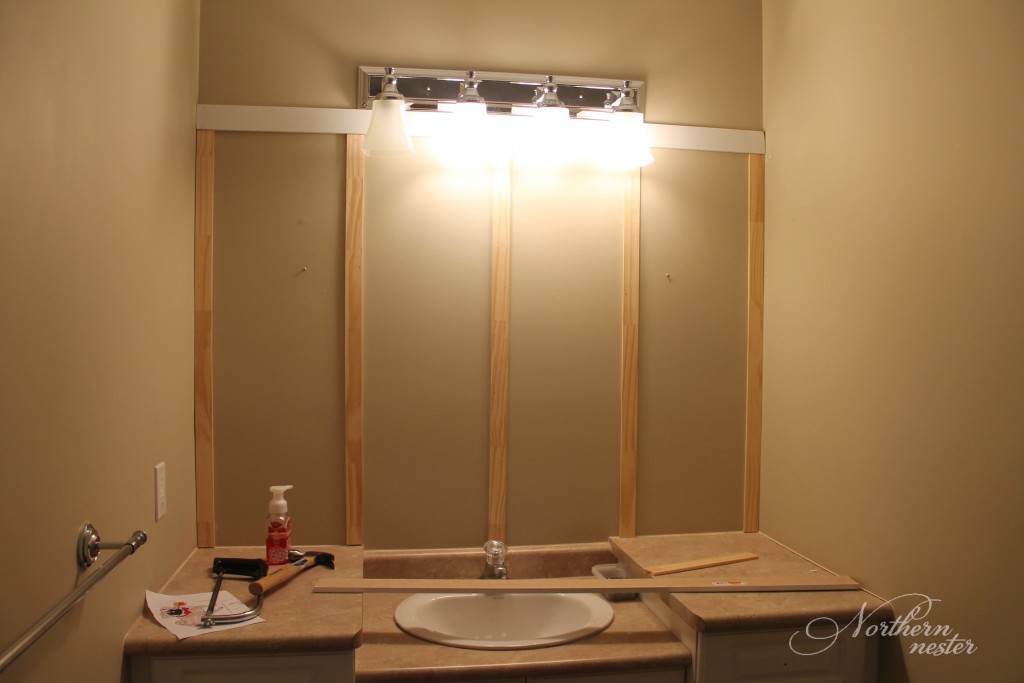
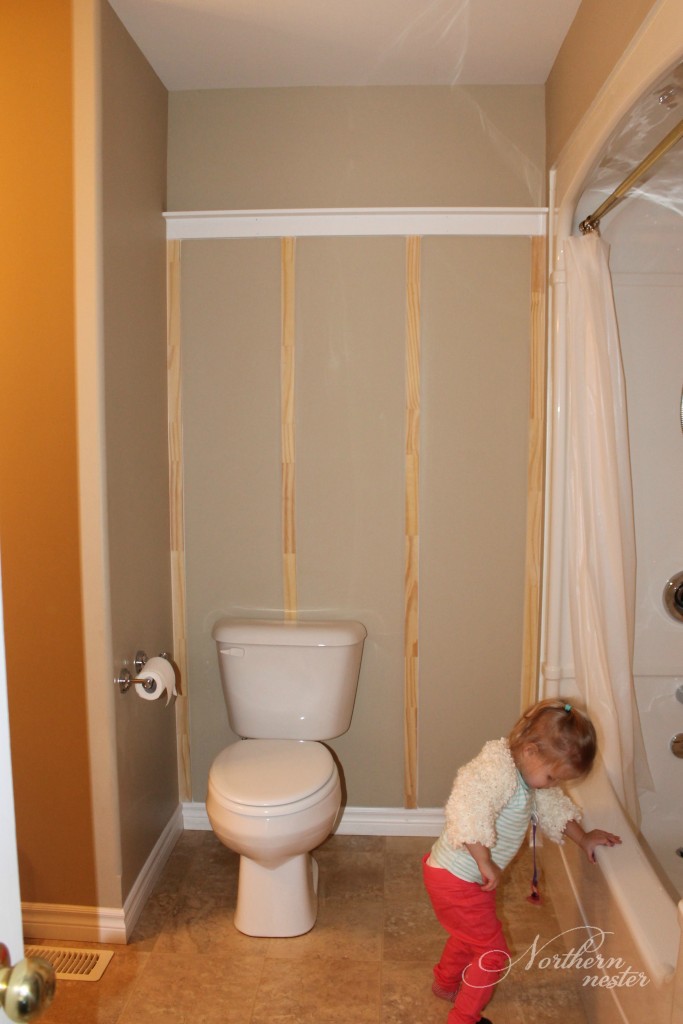
Now it’s time to hang your vertical boards. Start by hanging your end two first so they frame your wall. Measure the distance between the bottom of the horizontal board and the top of your baseboard which your lattice boards will be sitting flush against. Mine had a slight overhang, but not enough for me to care about and nothing a bit of caulk couldn’t conceal. 😉 For the battens behind the vanity, I measured from the bottom of horizontal board to the top of the counter.
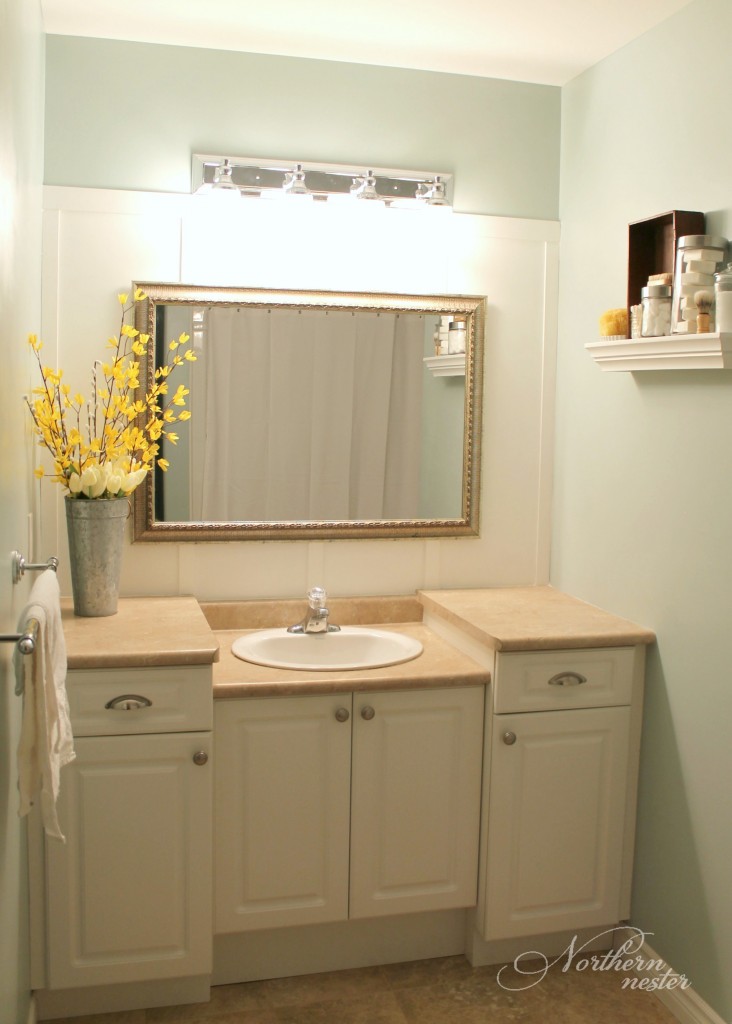
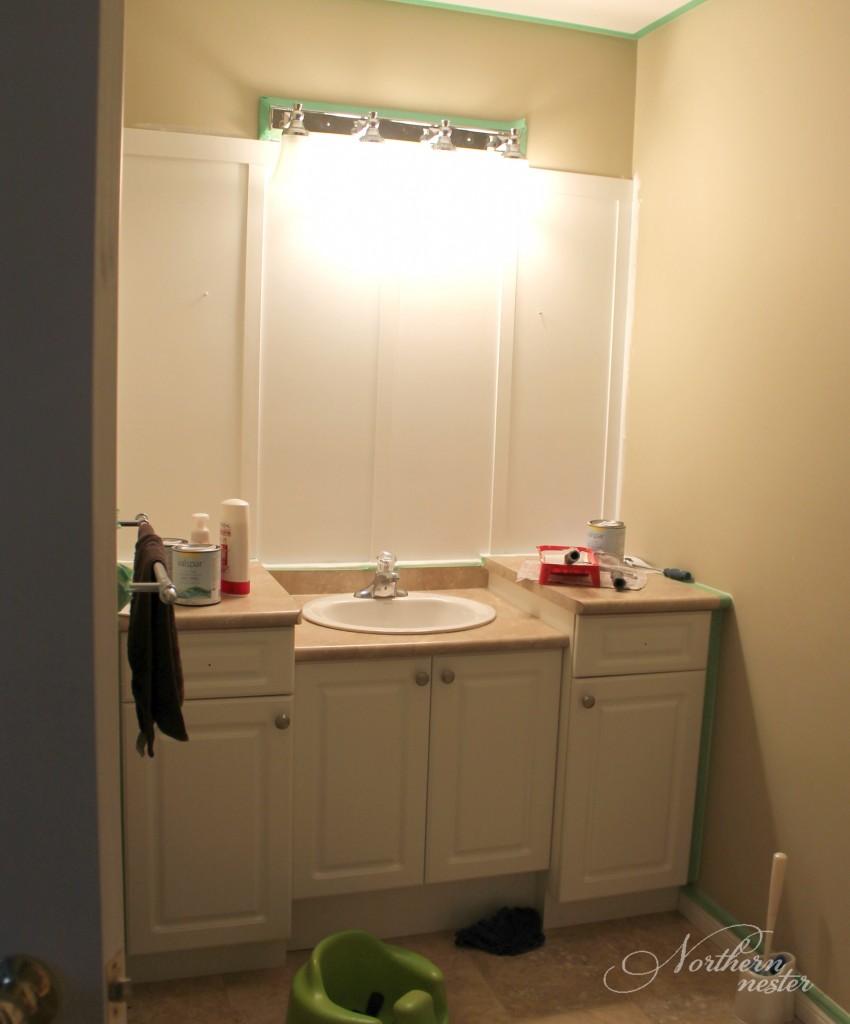
Once you’ve got the two boards on the end nailed in, decide how far apart you’d like your battens to be. If you’re doing a large room, every two feet is standard, but that was too far apart for the little walls in our bathroom. I settled on a spacing of 37 cm (approx. 14 inches), which gave me four battens behind the toilet and five behind the mirror. Remodelaholic has a great tutorial on how to figure this out. So that’s why Mom made me do math!
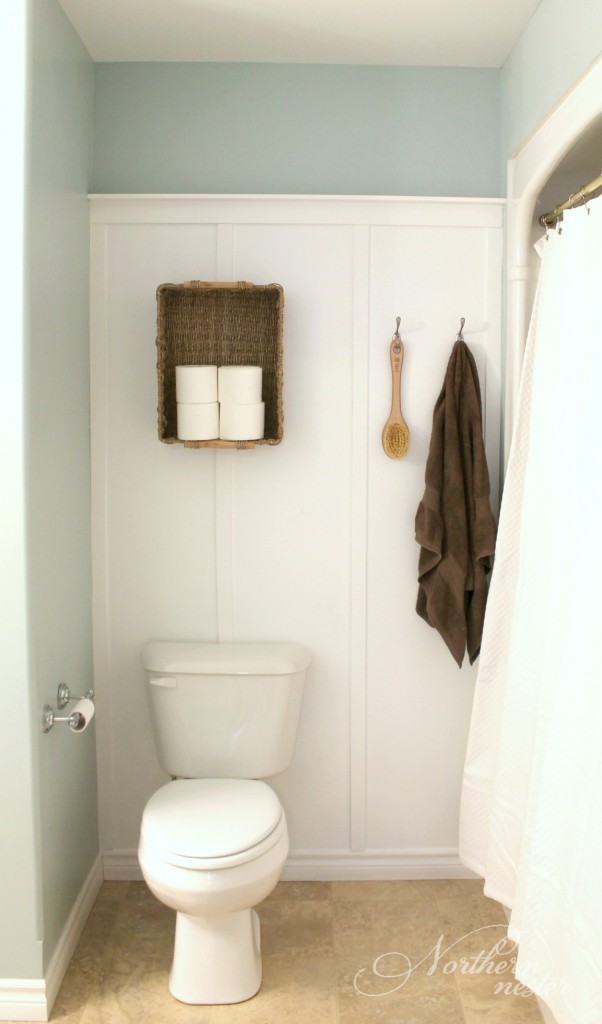
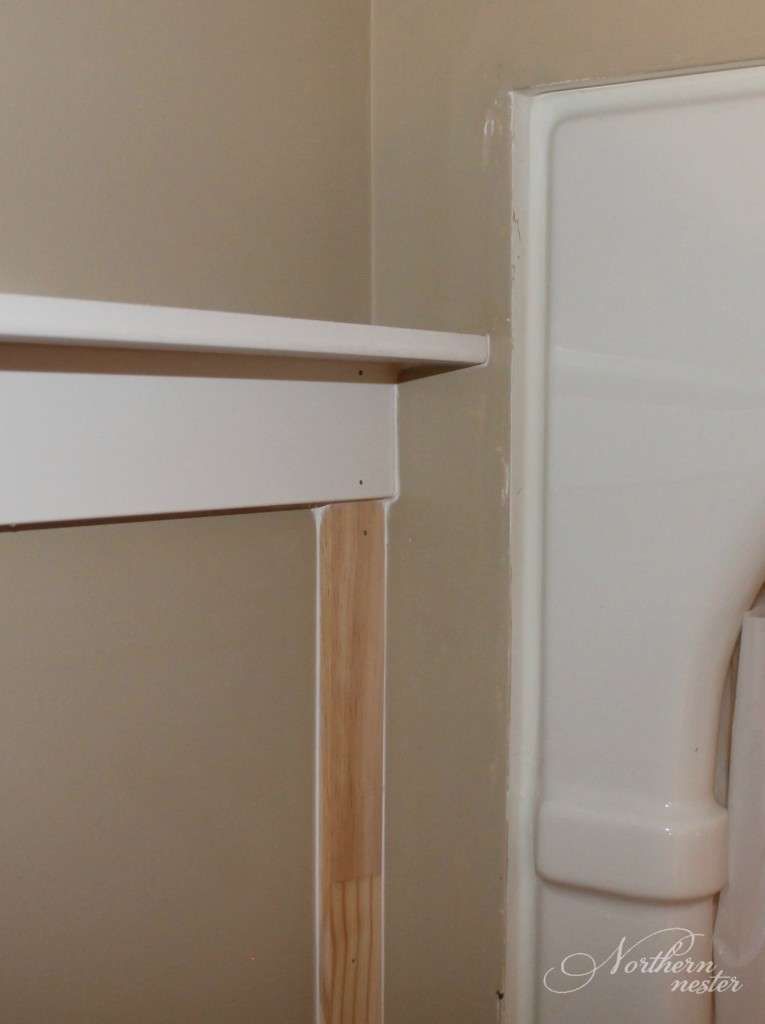
To attach the shelf to the top of the board and batten behind the toilet, I used Liquid Nails. The shelf is purely for decorative purposes. It’s too narrow to hold anything heavy and too high for my kids to climb on, so I wasn’t too worried abut using an actual nail to secure it to the wall. I didn’t add a shelf to the board and batten behind the mirror because the light fixture was in the way.
For the shelf, I used another piece of 2 1/2″ wide pre-primed MDF cut to the width of my wall and attached it by squirting one bead of Liquid Nails on the upper side of the horizontal board and one bead on the side of the shelf that would be sitting against the wall. You need to act fairly quickly to get it in place because Liquid Nails start to dry fast and once it’s dried, there’s no forgiveness! Firmly press the shelf against the wall and your horizontal board for a few minutes until it’s secured.
Next comes the caulking! Caulking can be a bit surprising if you’ve never done it before, but if you keep an old piece of cardboard and a damp cloth on hand, you’ll be fine. 🙂
Here’s how to load your Caulking Gun:
If you’re installing your board and batten in a high moisture area, be sure to use caulk that is meant for Kitchen and Bath. I used Dap’s Kwik Seal Plus and it worked well.
Caulking feels pretty tedious and time-consuming, but the results are so worth it! You don’t want gaps between your boards and the wall. It looks ugly and it can harbor funny growing stuff, especially in a bathroom. It’s not hard; it just takes time.
To start, cut the nozzle at a 45-degree angle, place it in a caulking gun, and you’re ready to roll (some cartridges have seal that needs to be punctured with a nail).
I found it worth my while to practice on a piece of cardboard until I got a feel for the flow and size of the bead before I started caulking the actual board and batten. It’s important to keep the caulking gun moving quickly and smoothly once you squeeze the trigger; if you know what to expect, there will be less “Ooopsies!“. Keep a damp rag close by to wipe up any accidents as caulk starts to dry very quickly.
It’s far better to pull the caulk tube nozzle than to push it. For the vertical battens, that means caulking down instead of up. Caulking downwards allows the nozzle to slide over any bumps, while pushing up usually results in sudden stops that produce unsightly “blobs” of caulk. If you mess up, you can always scrape it off with a putty knife and start over.
Only caulk one seam at a time so you have enough time to get it “tooled” before it begins to dry. “Tooling” is glide over the bead of caulk in order to smooth it out and seal the gap. You can get a special tool for this, or just do what I did and wrap a damp rag around your index finger. Works like a charm! 🙂
Now all that’s left is to fill in the nail holes with some Spackle and a putty knife, lightly sand and prime the battens (I used Rust-Oleum’s Zinnser Cover Stain), and paint it all white!
I couldn’t believe how bright our bathroom became just by installing the board and batten! Once I painted the walls, it became even lighter.
That’s all there is to it! This is a perfect project for a newbie DIY’er. If you have any questions about the process, feel free to ask in a comment and I’ll try my best to answer. 🙂


I love how fresh and clean your washroom looks 🙂 You guys did a great job